








You know the look. The dashboard was fine last week, then a hot drive, a few dusty roads, and one coffee run later, there’s a grey film sitting over the vents, fingerprints around the screen, and that faint greasy haze that only shows up when the sun hits the windscreen at the wrong angle. The problem isn’t just dust. It’s heat, UV, air movement, and touch, all working together to turn a clean cabin into one that feels neglected fast.
A proper how to clean inside of car dashboard routine is more than a quick wipe. In Australian training and transport guidance, interior cleaning sits inside formal vehicle-cleaning standards, and dashboard care falls under the broader interior and fittings scope, not casual dusting, with passenger-service standards also requiring trim to be free of dust that causes discomfort or soils clothing (training.gov.au AURVTA005 Clean vehicles, Queensland transport cosmetic standards bulletin). That matters because the dash is where dust, oils, screen coatings, and trim materials meet, and each one needs a different touch.
Why Does the Inside of Your Dashboard Get Dirty So Fast?
A dashboard in Perth heat gets dirty fast. The windscreen acts like a lens, the sun bakes the surface, and plastics, vinyl, and soft-touch trims start holding onto body oils instead of letting grime fall away. Once that film builds up, fine dust clings to it.
The cabin keeps feeding the problem
Airflow keeps the mess moving. With windows up and the fan running, the cabin recirculates small particles through vents, seams, and the edges of switches. Keeping windows up on dusty roads, using recirculation, and checking door seals all help stop grit from entering in the first place.
The finish matters too. Glossy dashboards show dust almost immediately, while matte and soft-touch trims can hide it until it turns into a dull grey patch across the centre stack. That is why a dash often looks dirty even when it does not feel heavily soiled. The surface is usually holding three problems at once, bonded dust, oily residue, and grime trapped in seams and vents.
Practical rule: if the cloth only moves dust around, the dash is not clean yet. It needs dust removal, residue lifting, and seam work in the same pass.
Treating the job like a quick cosmetic wipe is where many drivers go wrong. A surface exposed to heat, skin contact, and constant airflow needs a slower, more deliberate clean, especially around vents, speaker grilles, stitching, and the edges of screens where a flat cloth never reaches.
What Tools and Products Do You Really Need?
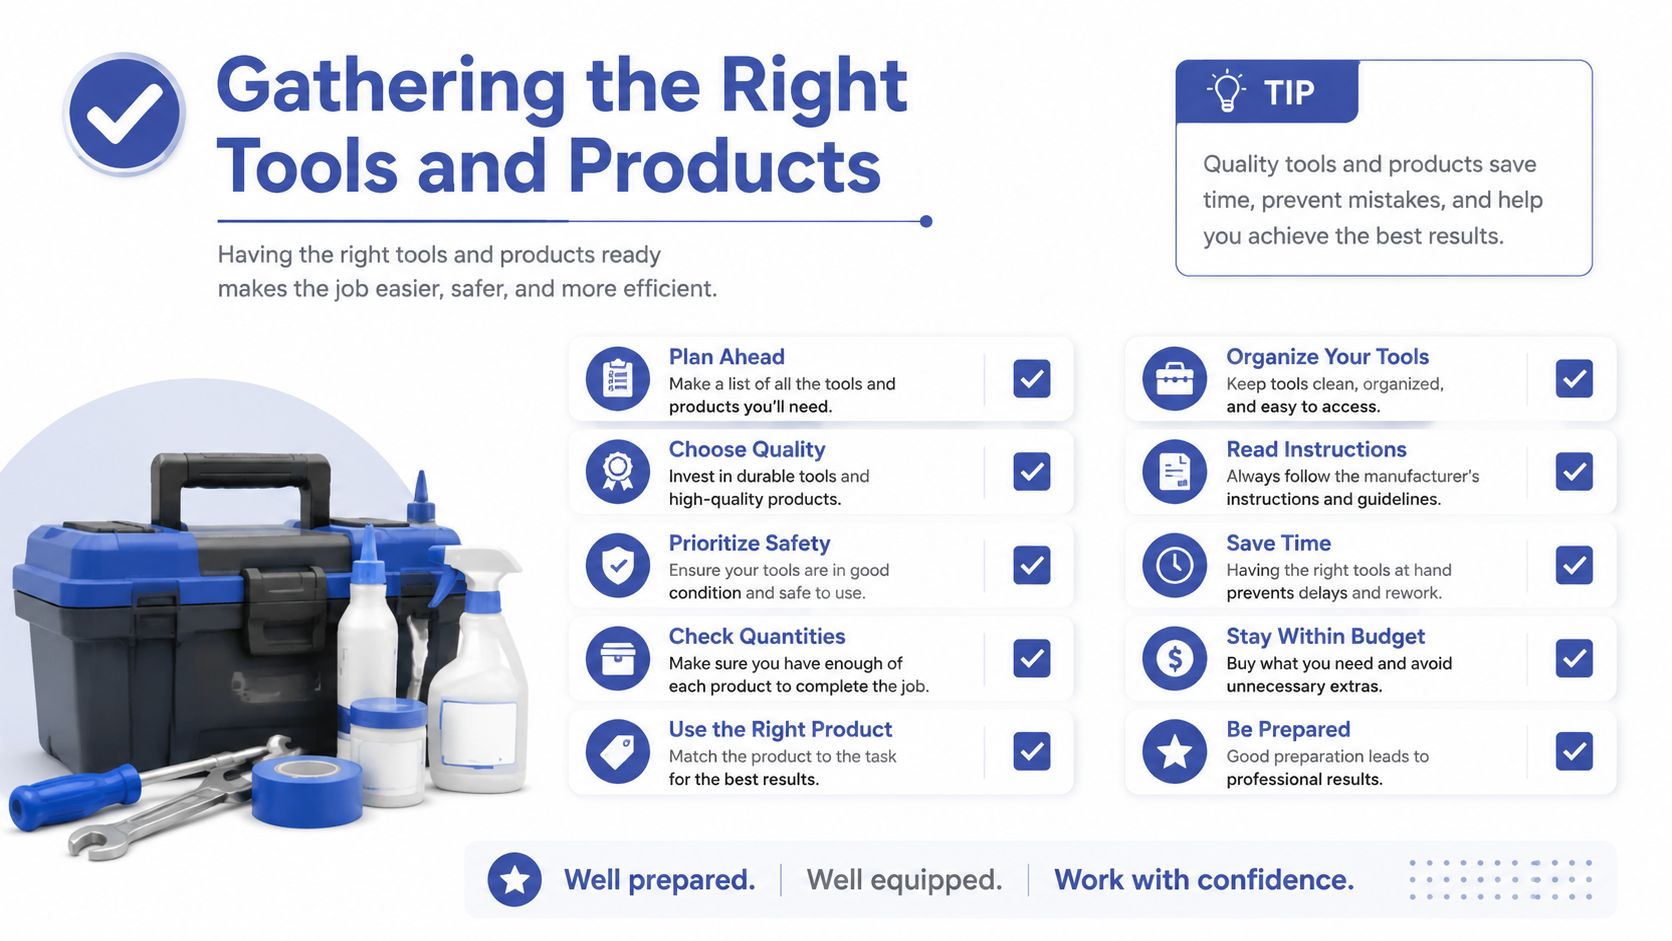
The fastest way to make a dashboard messier is to start with the wrong cloth and improvise the rest. Lay everything out before you touch the cabin, because switching tools mid-job is how overspray reaches the screen, dust gets dragged back across the trim, and shiny residue ends up in the seams.
Build the kit around the dash, not around the bottle
You want two or three microfibre towels at minimum, not one. A short-pile towel suits screens, a medium-pile towel suits most dash faces, and a separate dirty towel keeps contamination from moving back onto clean trim. Add a soft detailing brush for vents and seams, a vacuum with a brush attachment and crevice tool, and a can of compressed air for tight louvres and speaker grilles.
For products, keep it simple. Use a pH-balanced interior cleaner for vinyl and plastic, a dedicated leather cleaner and conditioner for leather dashboards, a diluted isopropyl alcohol mix for stubborn sticky spots, and distilled water for a final wipe if the surface needs a residue check. Australian interior-care guides also point to a microfibre cloth with an automotive interior cleaner on the dashboard, console, and door panels to lift residue and leave a cleaner finish.
A leather dashboard deserves its own routine, not a shortcut, and that’s where a dedicated leather clean-and-condition process fits naturally in the kit planning (Prime Shine leather clean and condition service). For the rest of the cabin, avoid household sprays, ammonia-based glass cleaner on plastics, heavy silicone dressings that smear, and anything labelled degreaser for interior work.
Avoid this: if a product smells harsh enough to strip kitchen grease, it’s usually too aggressive for trim, screens, and coatings in a car cabin.
What Should You Do Before Wiping Anything?
Start with a cool cabin. Park in shade if you can, then let the dashboard cool before any cleaner touches it. On a hot panel, liquids flash off too fast and leave haze, and that haze gets blamed on the product even though the surface temperature caused it.
Clear the cabin before you reach for a cloth. Take out floor mats, empty cup holders, and remove loose items from the seats and console. It keeps debris from falling back onto a dash you have already cleaned.
Vacuum first, wet work second
Use the vacuum brush attachment on low suction and work from the top down. Start on the upper dash so loose dust drops onto areas you will clean later, then use the crevice tool around seams, the instrument cluster edge, vents, and button gaps. For deeper fabric or carpet cleanup around the cabin, see our guide to seats and carpet steam cleaning.
Compressed air helps after the loose grit is already lifted. A short burst can clear dust from louvres and speaker grilles, but if you use it first, you just push the mess deeper into the cabin. Vacuuming first keeps that debris out of your wipe path.
Apply cleaner to the microfibre cloth, not straight onto the dashboard. That keeps overspray off glass and electronics, and it follows the safer workflow outlined in the Repco interior cleaning guide. If the dash still feels gritty after vacuuming, stop and go back over the seams and vents. Wiping harder only drags the dust across the trim.
How Should You Clean Vinyl, Plastic, and Leather Dashboards?
Material choice changes the whole approach. A vinyl dash that tolerates a brush needs different handling from soft-touch foam, and leather needs less agitation and more restraint. Match the cleaner to the trim instead of forcing one product across the whole cabin. For a broader look at dash, console, and trim restoration, see our guide to interior surface restoration.
Match the cleaner to the surface
For textured vinyl and hard plastic, put a small amount of interior cleaner onto a medium-pile microfibre, then work the panel in controlled passes. Use a soft detailing brush across the grain or into the texture only where dirt has settled in the pattern. Follow with a clean damp cloth to lift residue, then stop. Australian vinyl-care guidance also supports a water-based cleaner first on dirty or silicone-coated surfaces, followed by an applicator pass and a buff while still damp for an even finish.
For soft-touch plastics, skip the brush unless dirt is trapped in a visible crease. A barely damp applicator works better because it reduces pilling and limits overworking of the surface. For leather dashboards, use a pH-balanced leather cleaner, work panel by panel, and remove excess straight away so it does not soak into stitching or sit at the windscreen edge.
| Dashboard Material Cleaner and Finish Match | Material | Cleaner Type | Tool | Finish to Leave |
|---|---|---|---|
| Textured vinyl or hard plastic | Automotive interior cleaner | Medium-pile microfibre, soft detailing brush | Dry, natural, not greasy |
| Soft-touch plastic | Gentle interior cleaner, minimal moisture | Barely damp applicator | Soft matte, no sheen build-up |
| Leather | pH-balanced leather cleaner | Leather-safe cloth or applicator | Clean, conditioned, dry to touch |
The mistake that causes the worst damage is saturation. Once cleaner runs into vents, switch banks, or the instrument cluster, it can fog glass slowly or leave residue where connectors sit. Panel-by-panel cleaning avoids that risk and keeps the finish even instead of streaky.
How Do You Safely Clean Screens, Vents, and Electronics?
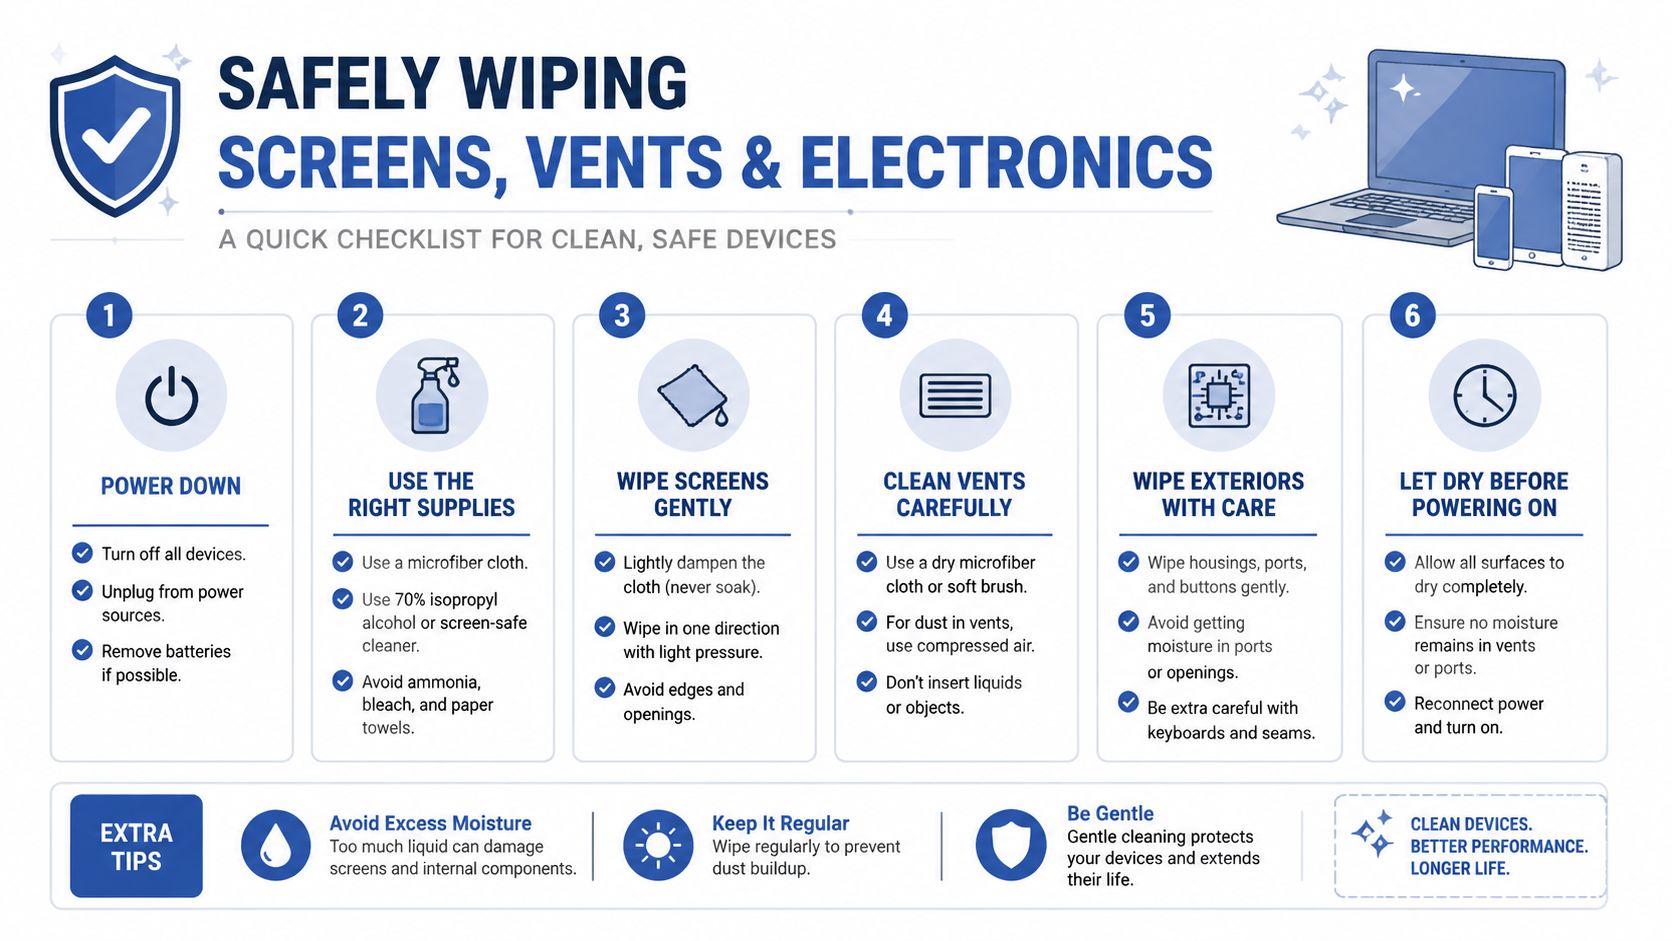
Screens and controls are where shortcuts fail first. The dashboard can look clean while the actual weak points, anti-glare coatings, vent fins, button edges, and sensor surrounds, are still dirty or half-wet. That’s the area that needs the most patience.
Use electronics-safe technique, not one cloth for everything
Infotainment screens, instrument clusters, and head-up display glass need a screen-safe cleaner on a lint-free cloth, sprayed away from the panel. Never hit them with ammonia or a general-purpose interior spray if you want to protect anti-glare coatings and keep the finish clear.
Buttons, knobs, and HVAC controls respond better to a foam-tipped swab or a detailing brush held flat so the bristles reach between switches without levering them up. For vents, use a soft vent brush or a toothbrush-sized detailing brush, then finish with low-pressure air or the vacuum nozzle to pull dust out instead of pushing it deeper into the ducting.
ADAS sensors, parking sensor surrounds, and the dash-mounted microphone port all need the same careful treatment. Keep product off camera lenses and sensor windows, because overspray can cause glare and interfere with what those components are trying to read. A surface-specific method matters more than speed, especially in newer cabins with more electronics packed into the dash.
Get Professional Interior Car Care
Are You Drying and Protecting the Finish Properly?
A dash can look clean and still feel wrong if the final moisture never gets lifted out of the grain and seams. That leftover dampness moves into vents and stitching later, then leaves wipe marks, dust pull, or a sticky feel the next time the cabin warms up. Drying is not an optional finishing step, it’s part of the clean.
Buff the residue off, then decide on protection
After the wash pass, go over the whole dash with a dry, high-GSM microfibre. Work the cloth into seams, around buttons, and across grain patterns so trapped moisture gets pulled out before it migrates anywhere else. Buff lightly in one direction to remove the last film of cleaner.
If you choose a dressing, keep the finish matte or satin. That suits modern dashboards better than glossy silicone, which can look slick for a day and then behave like a dust magnet. Apply any protectant to the applicator first, not straight to the panel, then spread it thin and buff the excess until the surface feels dry.
A practical detail worth keeping in mind is that a matte finish on touch points, steering wheel, gear knob, and similar high-contact areas, is less distracting than a shiny one. That’s the same reason many Australian interior-care guides frame the final stage as clean, wipe, dry, then protect, rather than spray and hope for the best (Prime Shine interior protectant guide). The finish should protect the trim without making the controls slippery.
Bottom line: if the dash catches dust immediately after protection, the dressing is too heavy or too glossy.
Protect Your Interior the Right Way
Keeping the Dashboard Clean Between Details
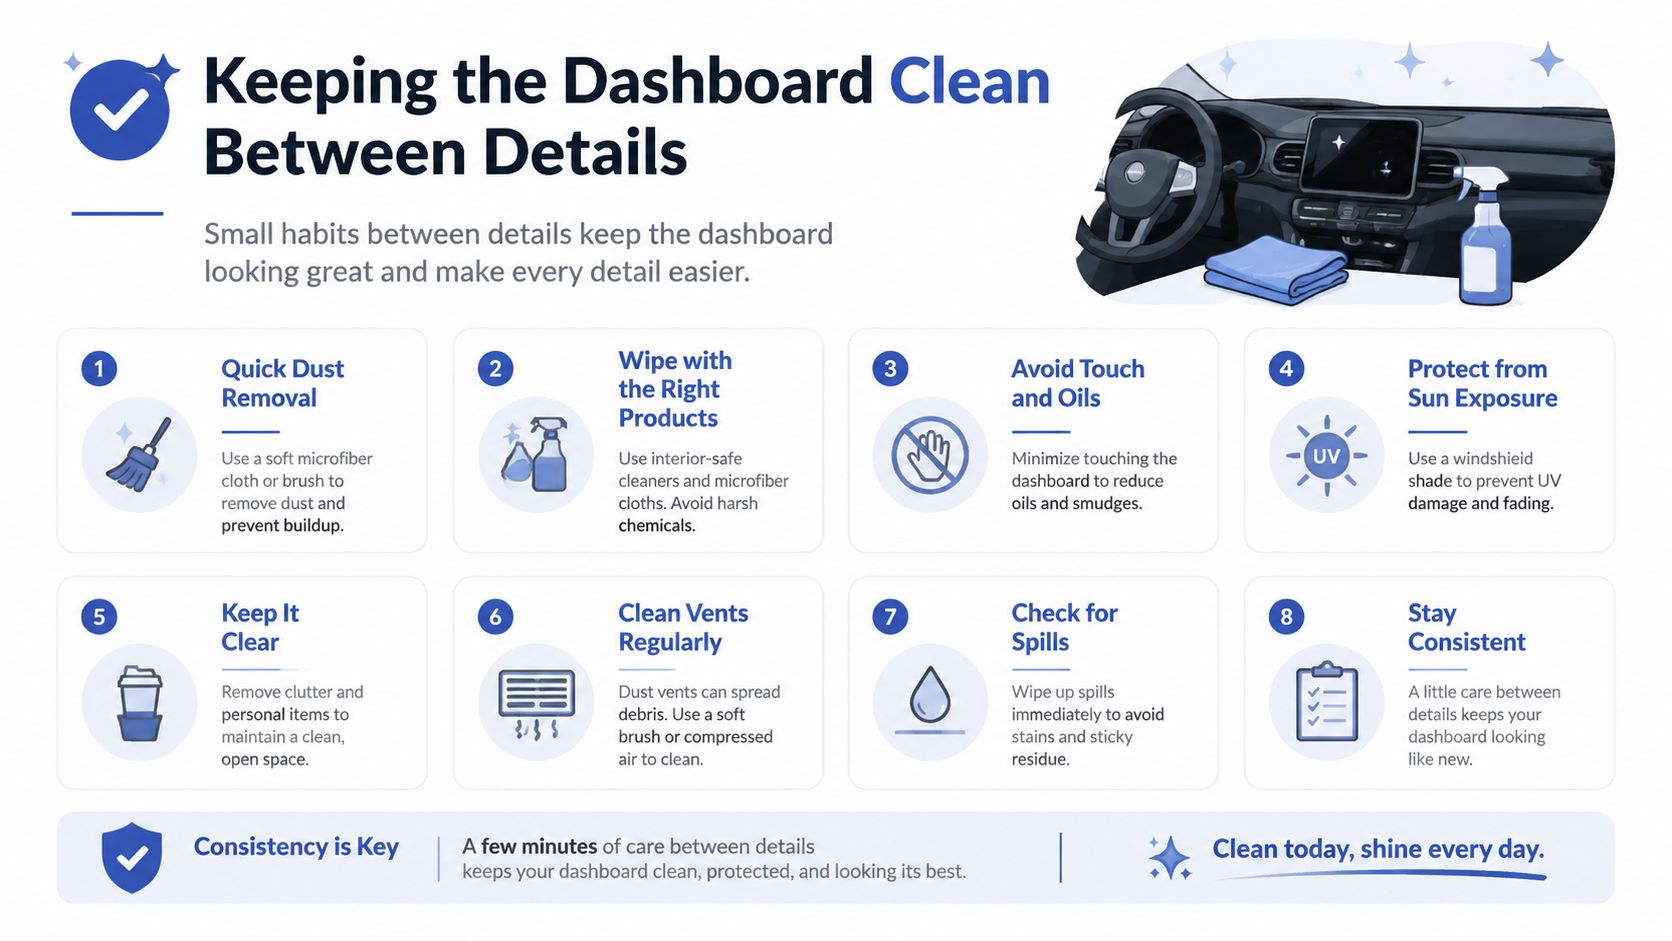
The dash stays cleaner when the cabin stops feeding it dust in the first place. Seal checks, ventilation habits, and routine air-filtration care matter just as much as the wipe-down itself. A quick clean is easier to maintain than a rescue job.
Control the dust source, not just the dust on the surface
Cracked door seals let fine road grit back into the cabin, and a clogged pollen filter pushes dirty air through the vents instead of filtering it properly. Use recirculate when the outside air is dusty, and check the cowl intake so leaves and grit do not get pulled into the HVAC system.
A short weekly routine does most of the work. Run a microfibre over the dash top, wipe the vent slats with a foam swab, and give the cowl intake a quick vacuum. That keeps dust from settling into seams and vent fins, where it later turns into a sticky film.
A professional reset makes sense when the trim needs deeper steam extraction, leather conditioning, or a full dressing reset. Prime Shine Hand Car Wash in Westminster offers interior and exterior car care, plus add-ons for dash, console, and trim detail, leather clean and condition, and seats or carpet steam clean. If you are in Perth and the dashboard keeps getting dusty no matter how often you clean it, visit Prime Shine Hand Car Wash and get the interior brought back to a proper baseline.