


A dog has just climbed out after a beach run, and the back seat looks as though it’s grown a second carpet. You vacuum the obvious tumbleweeds of fur, wipe the doors, and feel pleased with the result. Then, a day later, short hairs appear along the seat stitching, in the footwell and around the seat rails.
Pet hair removal from a car interior isn’t a five-minute surface clean. Fur catches in textile fibres, reacts to static, and gets pushed deeper by passengers, luggage and repeated use. The right approach depends on the material, the amount of shedding and whether odour or dander has joined the problem.
Practical rule: If the hair rolls into clumps when you brush it, DIY may be realistic. If it stays visibly woven into the fabric after agitation, suction alone won’t finish the job.
Why Pet Hair in Your Car Is Harder to Remove Than It Looks?
A typical Perth cabin tells the story quickly. A shedding dog has travelled on the back seat, climbed into the boot and leaned against the door on the way home. The owner sees loose fur across the upholstery and assumes a stronger vacuum will solve it. The first pass lifts the top layer, but the seat still holds short hairs in the weave, behind the headrest and inside the track channels.
That apparent improvement can be misleading. Loose hair responds to suction, while embedded hair needs mechanical agitation first. Friction from a dog jumping in and out twists fur into the carpet pile. Body heat warms the upholstery during the trip, and static charge helps strands cling to textile surfaces. By the time the vehicle cools, many hairs are no longer sitting on top.
Australia’s pet-owning base makes this a routine detailing requirement rather than an unusual request. The 2025 national survey estimated 31.6 million pets across 7.7 million households, with pets present in 73% of Australian homes. Dogs appeared in 49% of households, while cats appeared in 34%, according to Animal Medicines Australia’s national pet survey.
The problem isn’t poor cleaning technique
Owners who find fur days after cleaning aren’t necessarily doing a poor job. They’re often using a tool designed to lift loose dust against a contaminant that has physically lodged in the material.
A useful decision path starts with three questions:
- Where is the hair? Smooth leather and plastic need less intervention than cloth seats, carpet and boot linings.
- How far is it embedded? Surface shedding can be gathered. Matted fibre needs repeated agitation.
- What else is present? Odour, dander and residue point towards a broader interior clean, not just hair collection.
Next step: Run your hand across the worst section after vacuuming. If you can still feel a rough layer of fur in the fabric, stop repeating the same vacuum pass and change the method.
How Pet Hair Actually Bonds to Car Interior Surfaces?
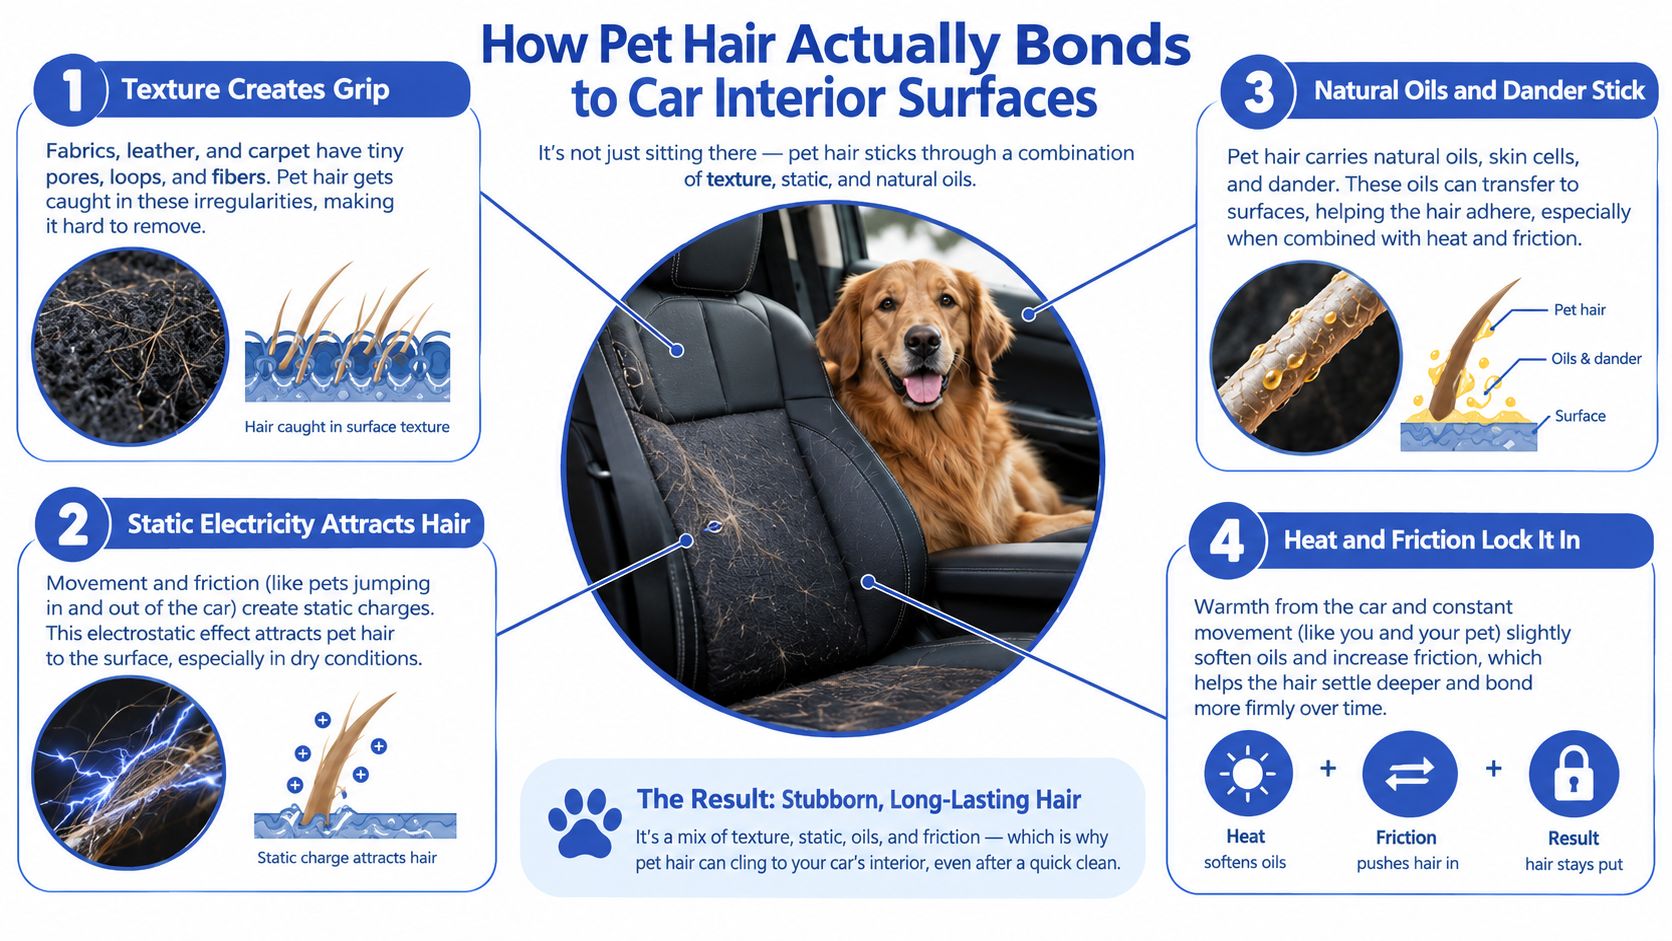
Pet hair grips a car cabin through a combination of fibre adhesion, static charge and heat cycling. A strand doesn’t just fall onto a seat and wait for suction. Its surface catches on woven textiles and carpet loops, while movement works it further into the material.
Perth’s dry conditions can make static especially noticeable inside a closed vehicle. When a passenger shifts or a door closes, charged strands cling to cloth, carpet and some textured plastics. Repeated contact creates more friction, so short fine hairs can become harder to see and harder to release.
Heat changes the behaviour of the cabin as well. Sun-load and body heat warm the seat and carpet fibres during travel. As the vehicle cools, those fibres contract around the fur. This cycle helps explain why a cabin can look acceptable immediately after a quick clean, then reveal more hair once the fabric is disturbed again.
Vents create a separate pathway. Lightweight strands can move through air channels, settle around vent openings and return to the cabin when the ventilation system runs. That doesn’t mean every hair has entered deep inside the ducting, but it does mean a cloth and a vacuum nozzle won’t address every place loose fur travels.
Australian detailing guidance also supports the central point, agitation matters as much as suction when hair has entered upholstery and carpet fibres. A professional interior detailing guide from an Australian car-care provider describes specialised agitation tools as necessary where a standard household vacuum is insufficient.
The useful mental shift: Treat embedded fur as a bonded contaminant. First disturb the bond, then collect the released hair.
See How Interior Steam Cleaning Works
The Interior Surfaces That Trap Fur the Worst
Different materials create different problems. Cloth seats and carpet mats are usually the hardest because their fibres provide depth and texture. Leather and vinyl are quicker to clear across the main panel, but seams, stitching and bolster creases still collect hair where the material folds under pressure.
The headliner needs restraint. Its soft, napped surface can grip fur, but aggressive brushing or excessive moisture can mark, loosen or distort the lining. Use a gentle tool and low moisture, working in small areas rather than scrubbing until the surface feels rough.
The boot often receives the heaviest concentration. Pets climb in and out, luggage presses fur into the carpet, and folded rear seats create ledges that hide compacted hair. Door cards, seat rails and vent channels collect fine strands in narrow gaps that ordinary household attachments struggle to seal against.
| Interior Surfaces and Pet Hair Difficulty | How Fur Holds On | Effort Level |
|---|---|---|
| Cloth seats | Hair catches below the weave and around piping | High |
| Carpet mats | Fibres and foot traffic compress fur into the pile | High |
| Boot carpet | Loading, unloading and cargo movement create dense patches | High |
| Leather and vinyl | Hair gathers along seams, stitching and creases | Moderate |
| Headliner | Soft nap grips hair but can be damaged by scrubbing | Moderate, with care |
| Door cards and seat rails | Narrow channels hide fine strands | Moderate to high |
| HVAC vents | Air movement relocates loose hair into openings | Moderate |
For dashboards and hard trim, use the principles in this guide to cleaning inside a car dashboard, then keep pet-hair tools away from screens, switches and delicate trim.
Read the Dashboard Cleaning Guide
How to judge the job before starting
A light layer on a washable mat is a manageable home task. A dark cloth interior with short, pale hairs pressed into the seat base is a different proposition. The more zones involved, the less useful it becomes to judge the job by the appearance of one cleaned seat.
Next step: Inspect the seat base, rear footwell, boot edge and seat rails before choosing a method. The worst zone, not the cleanest zone, should determine the level of intervention.
DIY Methods That Actually Lift Embedded Pet Hair
DIY works best when the owner follows the order used by a detailer: remove loose debris, agitate the bond, gather the fur and vacuum again. Starting with a vacuum alone often moves the top layer while leaving the anchored strands behind.
A practical home sequence
- Clear the cabin first. Remove mats, child-seat accessories and loose belongings so fur doesn’t hide underneath them.
- Vacuum loose hair. Use a crevice attachment around seat tracks, footwells, carpet edges and the boot lip. This prevents loose material from spreading when you start brushing.
- Agitate textile surfaces. Use a rubber glove, dedicated rubber brush or suitable pumice-style stone on durable carpet only. Work in one direction and gather the fur into small lines or clumps.
- Reduce cling carefully. A lightly damp microfibre can help collect surface hair. If you use a diluted fabric-softener solution on fabric, test an unseen area first and keep moisture away from switches and electronics.
- Detail the narrow areas. Foam swabs and a soft brush can collect hair around vents, seams and door-card channels.
- Vacuum in a different direction. A slow second pass, crossing the first direction, helps remove strands released by agitation. Guidance on cleaning pet fur from a car also emphasises slow vacuuming and changing direction on upholstery and carpet.
The limits are clear. Rubber tools can gather recent shedding, but they won’t always clear fur that has formed a dense mat beneath the visible surface. A pumice-style tool can damage delicate fabrics, and damp methods can create a worse result if the seat stays wet or the material transfers colour.
For a more complete fabric treatment, compare the process with this guide to steam cleaning car seats. Hair removal and fabric cleaning are related jobs, but they aren’t interchangeable.
DIY stopping point: If three careful cycles of agitation and vacuuming leave the same hairs in place, further effort with the same tools is mostly wasted time.
Compare With Steam Cleaning for Seats
Why a Clean-Looking Seat Can Still Be a Problem?
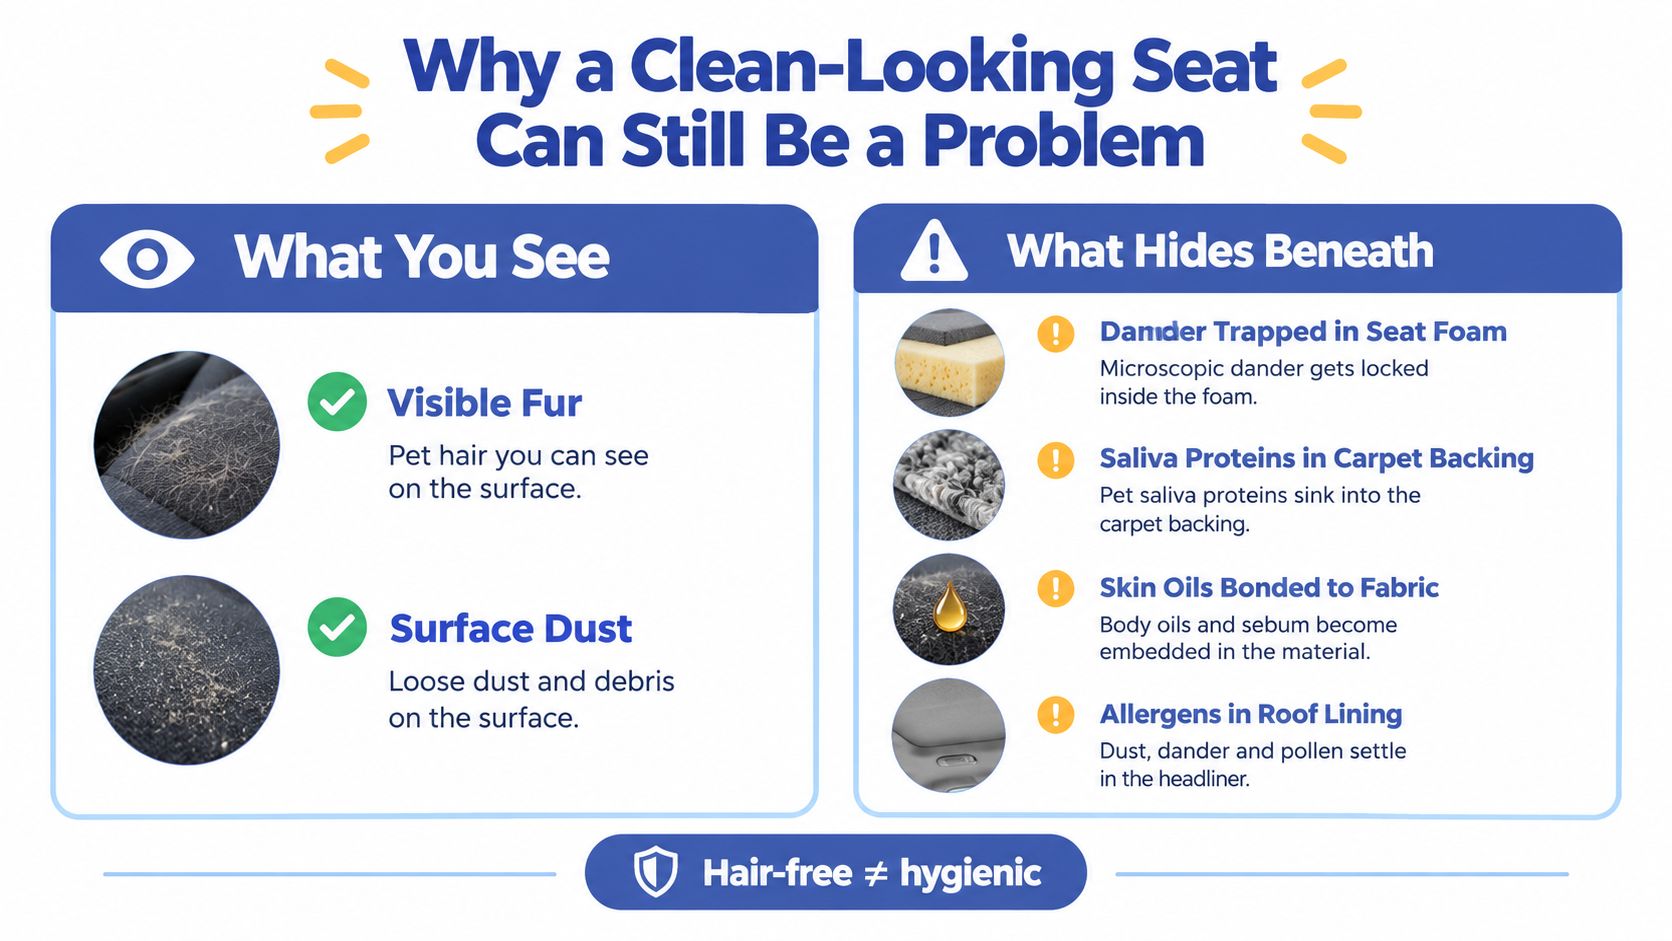
A hair-free seat isn’t automatically a clean seat. Visible fur is only the material you can see. Dander, saliva residue and skin oils can remain in fabric backing, seat foam, carpet and roof-lining material after the loose strands have gone.
Odour provides an early warning. A faint damp-dog smell that returns after the car has been closed up often points to residue below the surface rather than a few missed hairs. Heat can intensify that smell, while ventilation may distribute fine particles through the cabin when the system starts.
Three signs the cabin needs more than vacuuming
- A smell returns after airing out. This suggests the source remains in upholstery, carpet or another porous area.
- Interior glass develops a hazy film. Residue from occupants and the cabin environment can settle on glass even when seats look tidy.
- Fine dust gathers along dashboard seams. That line can include ordinary dust, dander and loose fibres that a broad vacuum pass has missed.
A surface clean has value, especially between deeper appointments. It removes loose contamination and makes the cabin more comfortable. It doesn’t replace extraction or targeted fabric cleaning when residues have entered the material.
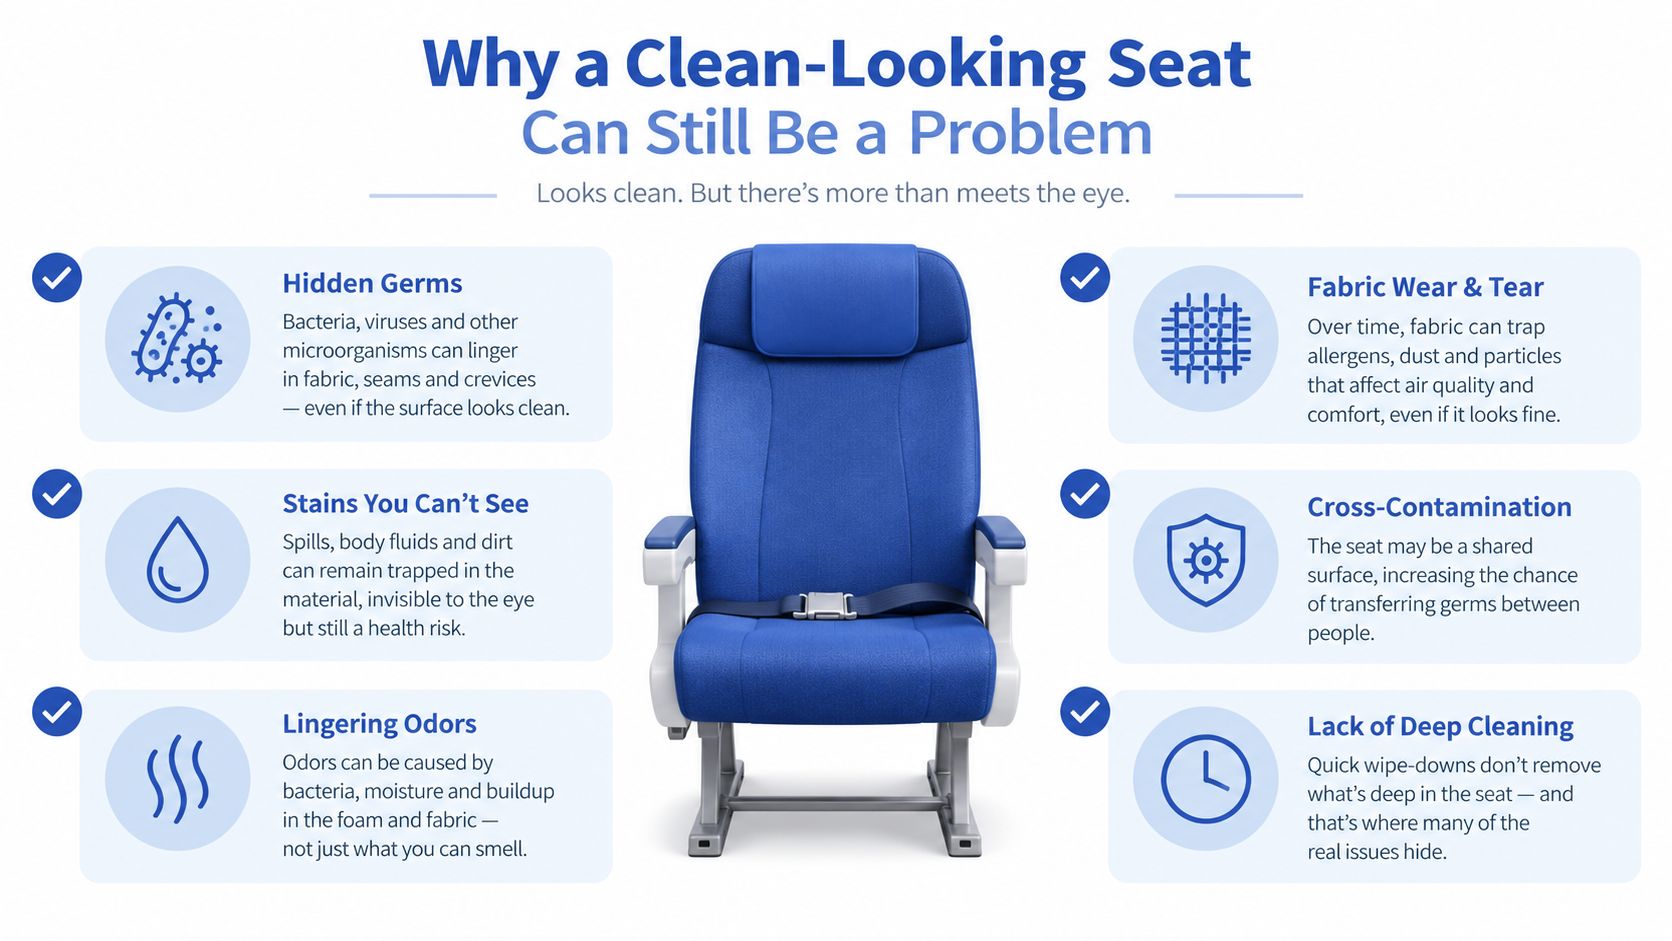
The concern is practical rather than dramatic. Families with sensitive passengers, daily school-run vehicles and cars carrying pets frequently can notice the difference between a cabin that looks tidy and one that has had its porous surfaces properly cleaned.
A clean-looking seat can still need extraction when odour returns, residue shows on glass or fur keeps emerging from the weave.
When DIY Stops Working and Professional Help Makes Sense?
DIY is reasonable when shedding is light, recent and concentrated on removable mats or hard surfaces. It’s also sensible for leather or vinyl interiors where hair mostly sits along seams and can be gathered without aggressive brushing.
Professional help becomes more practical when the cabin has several overlapping problems:
- Heavy shedding: Double-coated pets can leave fur across seats, carpets, the boot and door areas.
- Embedded cloth-seat hair: Short strands can disappear into the weave and survive repeated home vacuuming.
- Persistent odour: Hair removal alone won’t address residue that has entered porous fabric.
- Sensitive passengers: A vehicle used by people with asthma or allergies may need a more thorough interior reset.
- Daily transport: School drop-offs, rideshare work and frequent pet trips leave little time for repeated DIY passes.
The time trade-off matters. A professional pet-hair add-on may take roughly 45 to 90 minutes, depending on the vehicle and the amount of fur. It sits below a full interior detail in scope, but uses a combination of specialist brushes, compressed air and extraction equipment that a home vacuum generally can’t replicate.
| DIY vs Professional Pet Hair Removal | DIY Clean | Professional Service |
|---|---|---|
| Best suited to | Light, recent shedding | Embedded fur across several cabin zones |
| Main tools | Rubber brush, glove, crevice vacuum | Agitation tools, compressed air and commercial extraction |
| Control | Convenient and immediate | Methodical coverage of difficult areas |
| Main risk | Worn fibres, colour transfer or missed residue | Requires booking and vehicle handover |
| Odour treatment | Limited unless the source is reached | Can be combined with fabric cleaning and deodorising |
| Sensible decision point | Hair gathers after brushing | Hair remains after repeated agitation |
Australian pet-ownership figures support treating this as a recurring vehicle-care issue. Pet ownership rose from 61% of homes in 2019 to 69% in 2022 and 73% in 2025, according to the national survey data. For Perth and Westminster drivers, the decision is less about whether pets belong in cars and more about how much interior wear and labour the current routine creates.
Book the service when the cabin is costing you repeated evenings, not just when it looks untidy.
Check Interior Detailing Options
What Happens During a Professional Pet Hair Removal Booking?
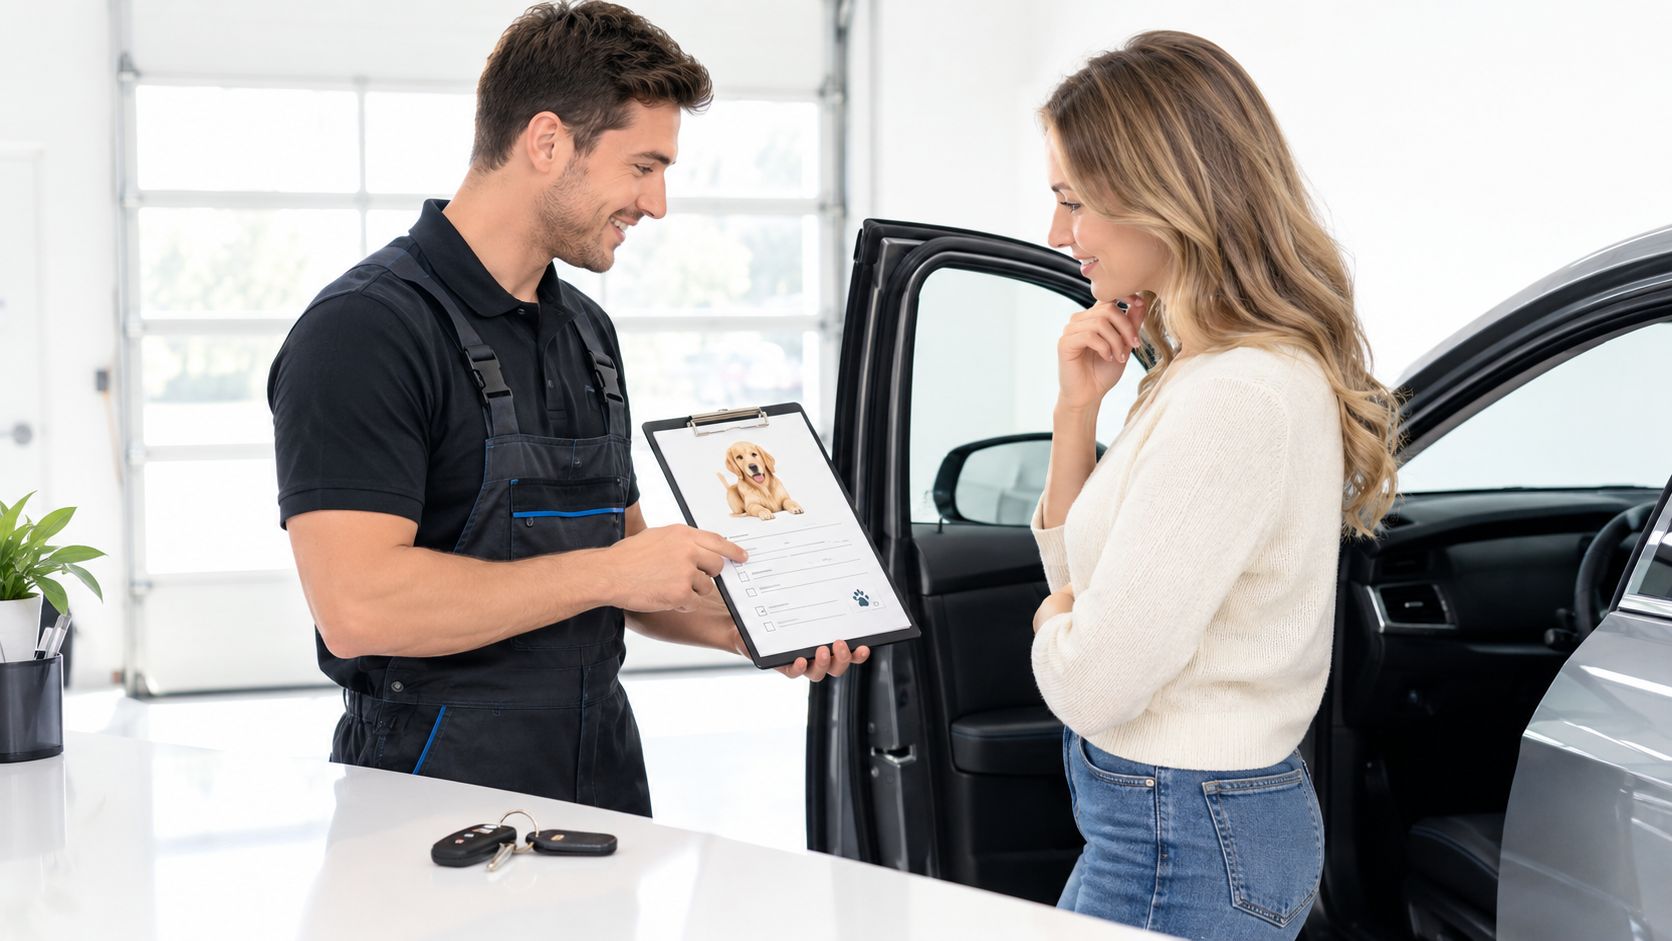
A proper booking starts before anyone turns on a vacuum. The detailer checks what type of pet travels in the vehicle, how heavily it sheds, which seats or cargo areas are worst and whether the owner has already tried to remove the hair. That intake matters because short fur on cloth needs a different approach from long fur concentrated in a boot mat.
The first working stage is a controlled pre-vacuum. Loose hair is removed from the seats, mats, footwells and boot, while crevice tools reach around rails and carpet edges. Compressed air can then dislodge strands from seat tracks, vent surrounds and narrow seams, with care taken to avoid blowing contamination into another part of the cabin.
Agitation does the work suction misses
The detailer works fabric with a medium-stiff brush or rubber-bristle tool, building friction gradually rather than attacking the surface with force. A pumice-style tool may suit durable low-pile carpet, but it shouldn’t be used on leather, roof lining or delicate upholstery.
A second vacuum pass collects the fur released by that agitation. If odour or dander is also present, deodoriser, fabric sanitiser, steam cleaning or extraction may be discussed as separate parts of the booking rather than assumed to be included automatically.
A typical add-on takes roughly 45 to 90 minutes, depending on cabin size and pet load. It’s commonly paired with an interior detail, particularly when the same vehicle also needs fabric cleaning or odour work. The distinction between hair removal and broader interior cleaning is outlined in this guide to how car interior steam cleaning works.
The finished result isn’t just a seat that looks better from the doorway. It’s a cabin where fur has been removed from seams, rails, carpet edges and other places a household cloth and vacuum nozzle can’t reach effectively.
Before booking: Ask whether pet hair removal is available as a stand-alone add-on or whether the vehicle needs an interior-detail package for the condition you’ve described.
Learn About Steam Cleaning and Add-Ons
Keeping Your Cabin Manageable Between Cleans
The easiest cabin to detail is the one that never receives a full load of loose fur. Brush the pet before travel, especially before beach trips or long drives, and use a washable seat cover or hammock when the animal regularly rides in the rear. That barrier keeps much of the shedding on a removable surface instead of allowing it into factory carpet and upholstery.
A small weekly routine works better than waiting for visible fur to take over:
- Brush before travel: Remove loose hair at the source before it reaches the cabin.
- Use a silicone or rubber brush: Sweep the seats and door cards towards one collection point.
- Empty the vacuum regularly: A full container or blocked filter reduces useful airflow.
- Lift the mats monthly: Clean beneath them, not only the exposed upper surface.
- Treat the roof lining gently: Use a dry or barely damp microfibre rather than vigorous scrubbing.
- Refresh ventilation carefully: Use fresh-air mode when appropriate to reduce recirculated cabin residue.
A washable cover is usually the biggest time-saver for regular pet passengers. It also protects the high-contact areas where fur, sand and moisture arrive together, particularly after Perth beach trips.
For surfaces that need ongoing protection after cleaning, this complete guide to interior protectant explains how a protective treatment fits into a broader maintenance plan. Protection won’t remove existing fur, but it can make routine wiping and vacuuming more manageable.
The practical rule is simple: a short weekly habit keeps a professional clean effective for longer than waiting until the cabin looks furry again. If hair is light, maintain it yourself. If it’s embedded, odorous or spread through every textile zone, choose the service level that matches the condition.
Prime Shine Hand Car Wash offers interior detailing and pet hair removal as an add-on for drivers in Westminster and greater Perth. If fur is embedded in your seats, carpet or boot, visit Prime Shine Hand Car Wash to book a suitable interior clean and discuss the right level of treatment.