


You know the look of it. The dog’s been in the back seat once or twice, maybe after a beach run or a quick trip to the park, and now the seats, carpet and boot look like they’ve been fur-lined on purpose. The frustrating part is that a quick vacuum usually leaves plenty behind, because pet hair in a car is rarely just sitting on top.
In Perth, that’s a routine problem, not a rare one. With more than 60% of Australian households owning pets and Australians spending around A$13 billion a year on them, pet transport is part of everyday driving for a lot of families, not an occasional event Square Up Australia. That’s why how to remove pet hair from car interiors has to be treated like a proper extraction job, not a single wipe-over.
Why Is Pet Hair in Cars Such a Layered Problem?
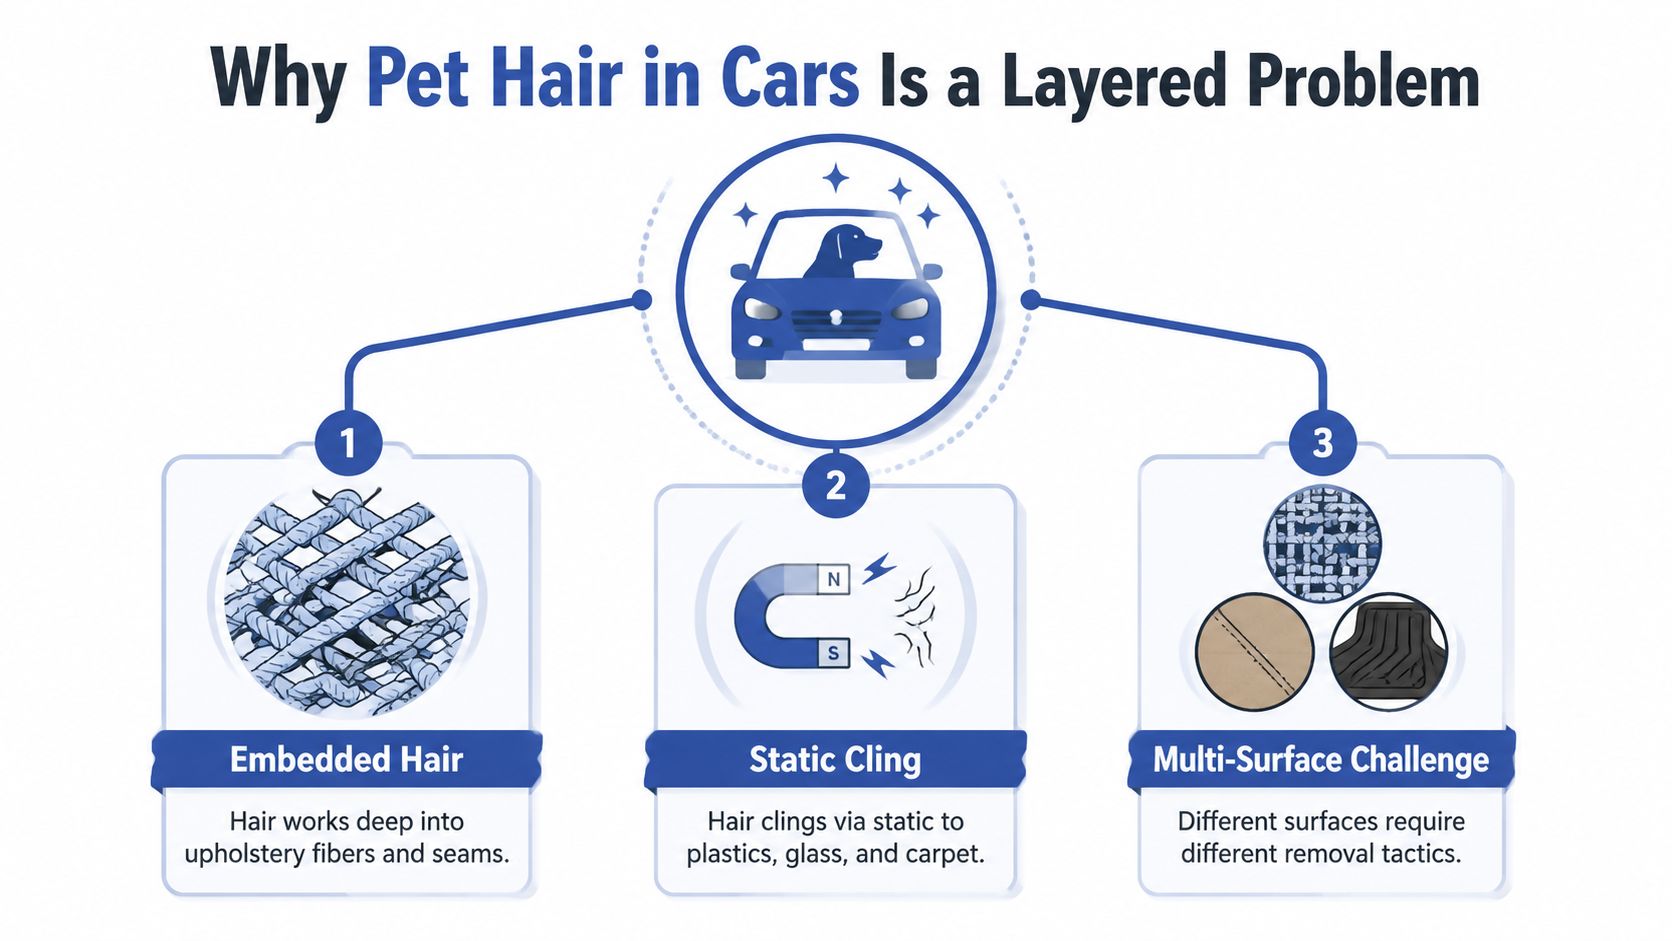
A Saturday run to the dog park can leave the back seat looking clean from a distance and filthy up close. Hair sits loose on the surface, then works deeper into the pile, then hangs on through static in seams, corners and textured trim. If you only attack one layer, the rest stays put.
What actually lives in the carpet?
Hair in automotive fabric doesn’t behave like dust. It gets worked into the fibres by movement, pressure and repeated loading, then holds there until something lifts it free. That’s why a single vacuum pass can make the surface look better while leaving the deeper strands untouched.
Practical rule: treat the cabin like three problems at once, loose debris, embedded fibres, and static cling.
The right working vocabulary helps. A vacuum pass removes loose grit, pile agitation loosens hair from fabric, static lift brings stubborn fibres to the surface, and adhesive pickup collects the last strands. Once you think in those terms, the process becomes much more predictable.
Why the problem keeps coming back?
Australian pet ownership makes this a repeat task for a lot of drivers, not a once-a-year clean. Families use the same vehicle for school runs, vet visits and weekend trips, so pet hair gets renewed constantly rather than building up in a one-off burst. That’s why a layered method matters more than brute force.
Australian guidance on removing dog hair from car upholstery consistently points to a multi-step approach, first vacuum, then use a stiff brush to lift trapped hair, then finish with a rubber glove or similar tool for the remaining fibres Square Up Australia. The point isn’t just cleanliness, it’s extraction order. Once you get that order wrong, you tend to push the hair deeper instead of removing it.
The Four-Step Removal Order That Actually Works
The simplest way to do this job is to work from loose material to stubborn residue. Start with the stuff that can come away easily, then disturb the pile, then use static or grip to gather what’s left. If you reverse that sequence, you smear hair into the carpet and waste time.
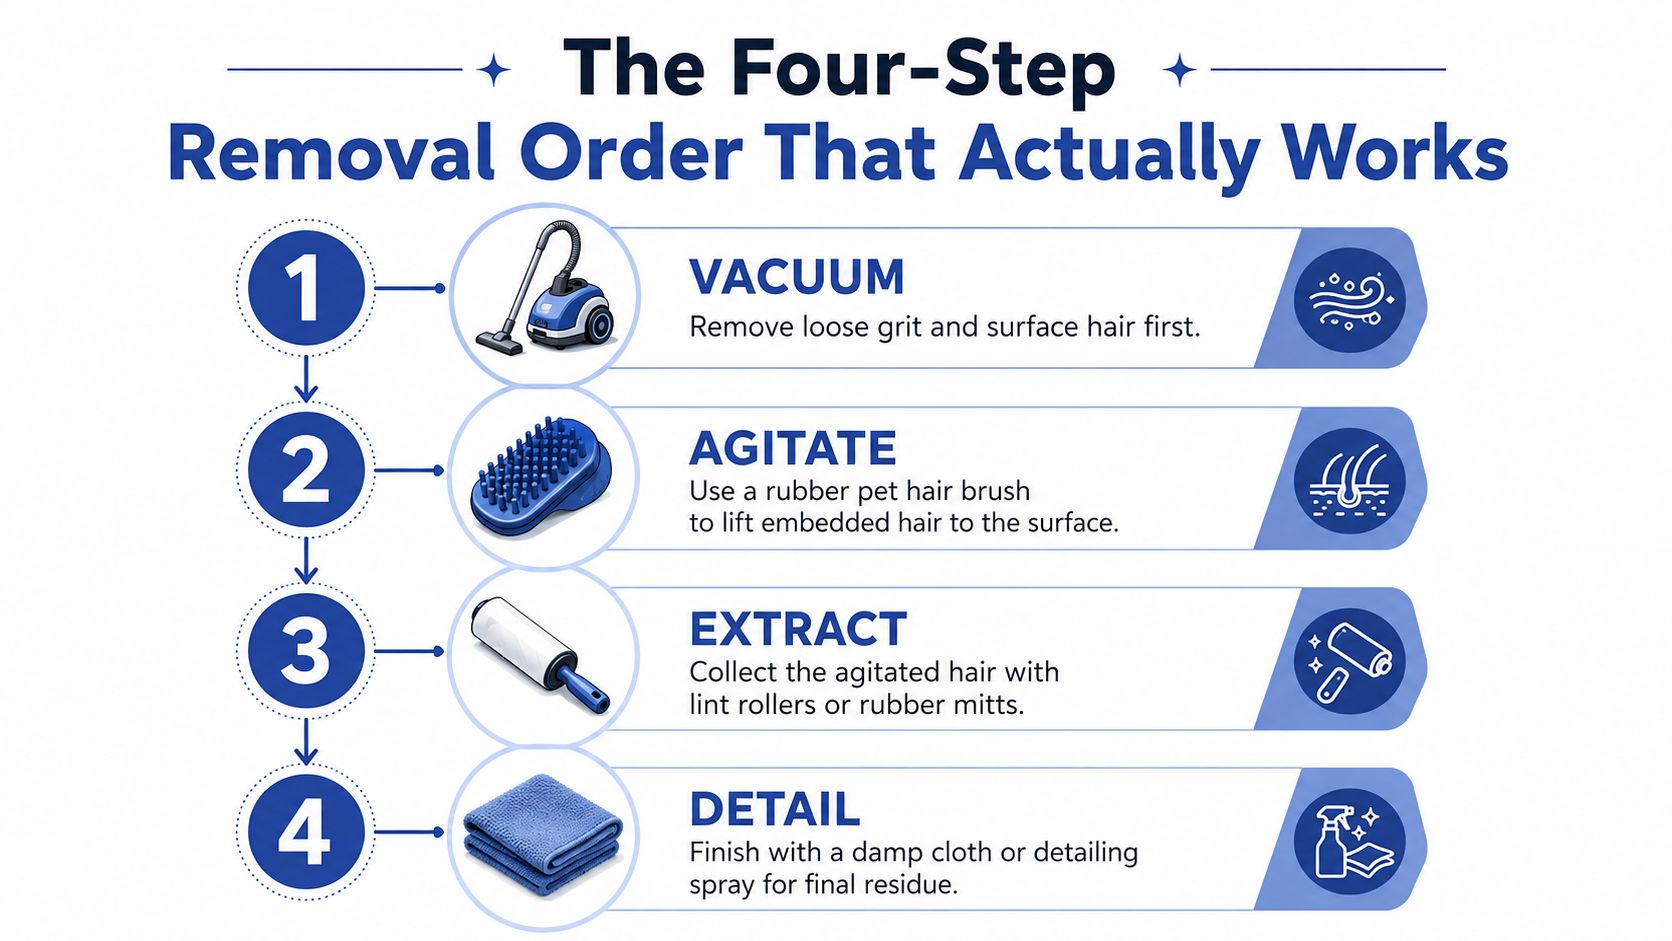
Step 1 Vacuum the loose layer
Use the vacuum first to take out grit, crumbs and the hair that’s only loosely sitting there. That clears the surface so the next tool can reach fibres that are embedded. On a dirty interior, this also stops you from grinding abrasive debris through the fabric later.
Step 2 Agitate the pile in one direction
A stiff brush, rubber brush or similar tool should be pulled in one direction so the hair gathers instead of spreading. That one-direction motion matters because brushing backwards and forwards tends to scatter the fibres and work them back into the pile Practical Motoring via Star Car Wash. A short, steady stroke beats frantic scrubbing every time.
Step 3 Use static or grip to pull fibres together
A damp rubber glove or squeegee-like edge helps bring the loosened hair into clumps. Shell Australia recommends a fabric-softener pre-spray diluted at about 7:1 water-to-softener, with a spot test first, then vacuuming or adhesive cleanup for the embedded strands Shell Australia. Keep the application light. Too much liquid can leave residue on trim.
Step 4 Finish with adhesive pickup
Lint rollers, tape or another adhesive method are for the last stubborn fibres, not the whole job. They’re slow on heavy contamination, but useful once the bulk has been lifted. That final pass makes the interior look finished instead of merely improved.
Best Tools for DIY Pet Hair Removal Compared
Pet hair removal in Perth cars is usually a staged extraction job. Loose fur on the seat surface comes off first, then the tools need to work harder on fibres that have caught in the pile, boot mat, or trim texture. Start with the wrong tool and you just push the hair deeper.
A rubber glove is useful on fabric seats and other flat panels because it gathers hair into clumps with static and grip. It loses value in seams, around seat rails, and in boot corners where the glove cannot keep a clean angle. A squeegee does a similar job on flat fabric, and the shorter the stroke, the better it keeps the hair moving in one direction.
Lint rollers and tape are finishing tools. They take off the last loose strands after the bulk has been lifted, but they are slow on a cabin that has been carrying a dog regularly. They also waste a lot of sheets if you try to use them as the first pass.
Pumice stones and rubber brooms sit on the stronger end of the scale. Pumice can pull stubborn hair from durable carpet and boot mats, but it is a poor choice near plastic trim, leather, or any surface that scuffs easily. A rubber broom works well across larger carpeted areas and the boot floor, where hair tends to collect after repeated pet trips. For diluted fabric-softener sprays, treat them as a loosening aid only, not a removal method on their own. If you want a broader interior clean that combines vacuuming, trim dusting and targeted hair removal, this interior steam clean service explanation is a useful reference point.
| Tool | Best on | Avoid on | How well it lifts embedded hair |
|---|---|---|---|
| Rubber glove | Fabric seats, light to moderate hair | Sharp seams, deep boot corners | Good for clumping hair by static and grip |
| Squeegee | Flat fabric panels, seat bases | Leather, soft trim edges | Good when used with short, controlled strokes |
| Lint roller | Final finish on seats and hard-to-reach loose fibres | Heavy shedding across large areas | Fair for residue, weak on deep embedment |
| Pumice stone | Durable carpet and boot mats | Plastic trim, leather, delicate fabrics | Strong on stubborn embedded hair when used carefully |
| Rubber broom | Boot floors and larger carpeted areas | Leather seats, tight detailing areas | Strong on carpet pile and loose collection |
| Fabric-softener spray | Embedded hair on fabric, used lightly | Unfinished spot testing, sensitive trim | Helpful as a loosening aid, not a removal tool by itself |
Best use case: match the tool to the surface first, then the amount of hair. The wrong tool on the wrong trim can create more work than it saves.
Getting Hair Out of Seams, Anchors and Boot Corners
The last 20% of the mess usually hides where the vacuum head can’t sit flat. That means child-seat anchor points, seatbelt slots, between seat rails, the gap behind the rear seat and the boot corners where tumble-off collects. These are the spots that make a clean cabin still look unfinished.
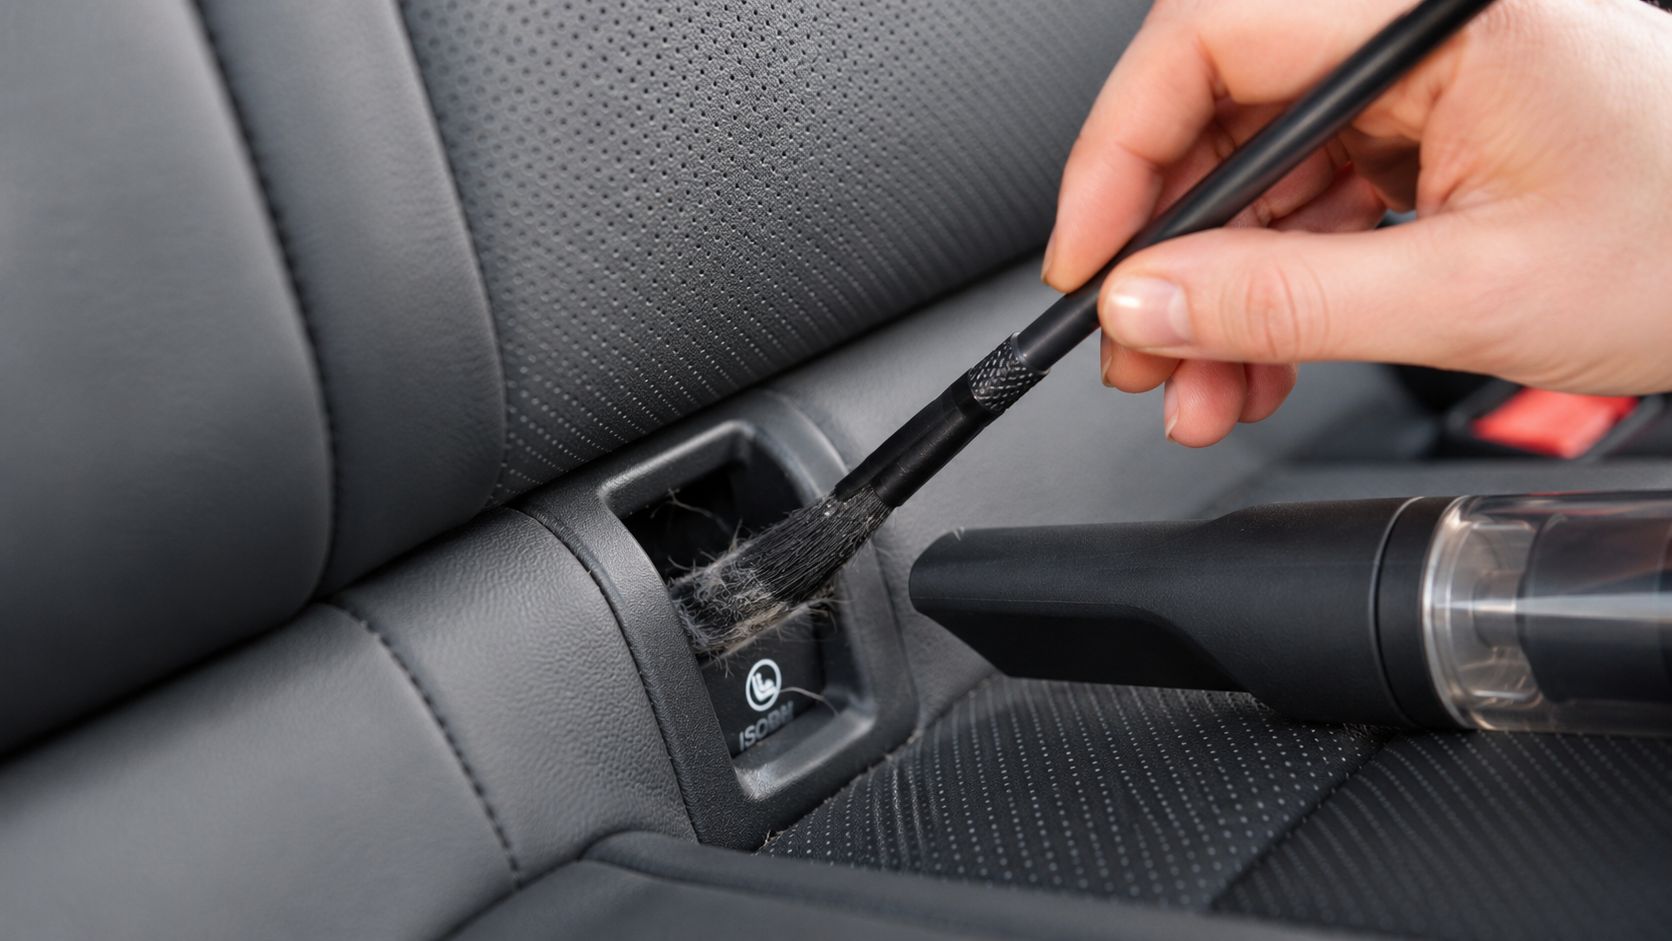
Work the seams before you chase the whole cabin
Use a stiff detailing brush to lift hair away from stitching, rails and anchor recesses. Then follow with a crevice tool while the vacuum is running hard, because suction alone won’t pull fibres out once they’ve caught in a gap. A damp microfibre cloth can then pick up the hairs the brush has loosened.
Tight spots need patience, not force. If the brush is bending hard against the trim, you’re using the wrong angle.
Boot corners deserve their own pass. Hair drops there every time a dog climbs in or out, and it settles in the corners first. Work from the back edge towards the opening so you’re moving debris toward the vacuum path instead of hiding it deeper in the seam.
Fabric Seats Versus Leather Seats, Which Method to Use
Fabric and leather need different handling because they fail in different ways. Fabric traps hair in the pile, while leather shows marks from aggressive brushing and harsh abrasives. If you use the wrong method, the damage can be worse than the mess.
If your seats are fabric
Start with vacuuming, then brush the fibres in one direction, then use a damp rubber glove or squeegee to pull the loosened hair together. Finish with a lint roller where the last strands remain visible. This is the sequence that matches how embedded hair behaves in woven material.
If your seats are leather or leather look
Use a vacuum with a soft brush attachment first, then a leather-safe wipe for the surface. After that, conditioning helps reduce the static cling that can pull fine hair back onto the seat. Leather-look and vinyl behave much more like leather than fabric, so don’t treat them like carpet.
Do not reach for a rough carpet tool on leather just because the hair looks stubborn. The trim will show the mistake faster than the hair disappears.
If you’re dealing with a mixed interior and want a deeper leather-safe clean, see this leather clean and condition service guide. The key decision is simple, if the surface has pile, use agitation. If the surface is smooth, use soft suction and surface-safe wiping.
Prevention Habits That Cut Your Cleaning Time in Half
In Perth’s heat, pet hair mats faster against warm fabric. A barrier stops the worst of it before it binds into the pile, which is where the cleaning time disappears.
Choose barriers for the way you drive
Seat covers and back-seat hammocks work best if the dog rides in one regular spot. Folded towels are quicker to lay down, but they shift more and leave edges exposed. Fitted boot liners suit cars where the cargo area carries the dog, especially if you load and unload often.
Build a short pre-trip routine
Brush the pet outside the car before departure, then run slightly damp hands over the coat to lift loose fur. That takes a few minutes at most, and it usually saves a far longer extraction later because less hair gets pressed into the seat fibres and footwells.
If the dog has come through mud or sand, that quick check also keeps the cabin cleaner overall. For drivers who want to protect the trim while reducing repeat cleaning, an interior protectant can make later wipe-downs less tedious. If that fits your routine, this protectant guide explains how surface care sits alongside hair removal.
Keep the habit realistic
A full pet transport setup is not needed for every household. A weekly cabin vacuum and a washable barrier can be enough if the dog only travels now and then. The point is to choose the smallest prevention habit that matches your driving routine, then stick with it.
When DIY Stops Working and a Detail Is Worth It?
Two careful DIY passes should make a visible dent. If hair still sits in the pile, returns after a drive, or leaves the cabin with that wet-fur smell after you’ve cleaned it, another home tool is usually just spending time on the same problem. At that point, a professional reset makes more sense.
Heavy-shedding breeds, allergy-sensitive passengers, lease-return inspections, and rideshare or fleet standards all raise the bar. Hair that has been worked into carpet for months behaves differently from fresh shed, because it has already settled into the fibre structure and often needs deeper extraction to come out cleanly.
A pet-hair-focused detail at a Perth operator can include targeted pet-hair removal as an add-on, interior vacuuming and trim dusting, seats and carpet steam clean where needed, and leather clean and condition for trim that needs surface-safe treatment. If you want a clearer picture of how our steam cleaning process works and what it costs, that gives you a good sense of where DIY stops and a proper interior reset starts.
Ask what is included for seats, carpet, boot and trim, and whether the job is only hair removal or a broader interior recovery.
Before you book, ask three things. First, whether embedded hair removal is included or priced separately. Second, whether steam clean or leather care suits your trim type. Third, what finish you should expect in seams, boot corners and anchor points. If you want the cabin to look properly finished rather than just less hairy, that conversation matters.
Prime Shine Hand Car Wash handles pet hair as part of a proper interior recovery, not a rushed surface wipe. If your seats, boot or carpet are still holding hair after the DIY sequence, book a visit and ask for the pet-hair removal option through Prime Shine Hand Car Wash, so the car gets the reset it needs.