





You’ve vacuumed the car, but the seat still has a dark patch where someone dropped lunch. The carpet looks tired, and a stale smell returns whenever you close the doors. A steam cleaner for upholstery and carpet sounds like the answer, until you wonder whether it’ll clean the fabric or leave the seat foam soaked.
The useful question isn’t how hot the machine gets. It’s whether the material can take the treatment, how you’ll remove the loosened dirt, and how the cabin will dry. Get those decisions right before switching anything on.
Check your seat material and arrange a drying window before committing to a full interior clean.
Can a Steam Cleaner Safely Clean Car Seats and Carpets?
Steam can suit woven cloth seats and tufted car carpet when the material’s care instructions allow it. Use extra caution with microfibre and synthetic blends. Keep steam away from leather, suede, Alcantara and velvet. For vinyl or PU-sealed trim, do not steam unless the material and equipment instructions explicitly permit it.
The visible surface is only part of the decision. Moisture or heat can affect the backing, adhesive, stitching and nearby trim, even if the face fabric appears to handle steam.
Steam suitability by car interior material
| Material | Steam verdict | Safer alternative or extra step | Test before use |
|---|---|---|---|
| Woven cloth seats | Yes, with low-moisture passes | Dry vacuum first, then steam if permitted | Hidden seam test for colour bleed and watermarks |
| Nylon or polypropylene carpet | Yes, subject to backing and care instructions | Vacuum and pre-treat stains | Test an edge for colour fastness |
| Microfibre and synthetic blends | Caution | Approved upholstery shampoo or spot cleaner | Check label; test texture and adhesive stability |
| Leather | No | Leather clean and condition | Not applicable to steam |
| Suede or Alcantara | No | Dry brush and material-approved cleaner | Not applicable to steam |
| Velvet | No | Dry vacuum and specialist cleaning | Not applicable to steam |
| Vinyl or PU-sealed trim | Caution, avoid steam without explicit approval | Damp cloth with mild cleaner | Check cleaner compatibility and finish stability |
| Rubber floor mats | Caution | Remove and wash separately | Check backing for heat sensitivity |
For approved fabric, use short, controlled passes rather than holding the nozzle in one spot. Steam loosens compatible surface soil; it does not remove the dirty moisture from the seat. Wipe away light residue with a clean towel, or use an extractor when the fabric holds more contamination. Leaving moisture in the seat can extend drying and affect the backing or foam.
Material checks matter more than turning up the heat. For leather, use a leather-seat cleaning and conditioning approach instead of trying to make steam safe by moving faster.
If you cannot identify whether a seat is cloth, coated material or a synthetic blend, get the material assessed before choosing a treatment.
Test an inconspicuous seam or accessible underside with the intended attachment and steam output. Let the patch dry completely, then check for colour bleed, texture change, adhesive lift or watermarking. Stop if any of these appear. A clean-looking damp patch is not a reliable result until it has dried.
Explore safer leather-seat care
How Does Steam Cleaning Actually Lift Dirt From Fabric?
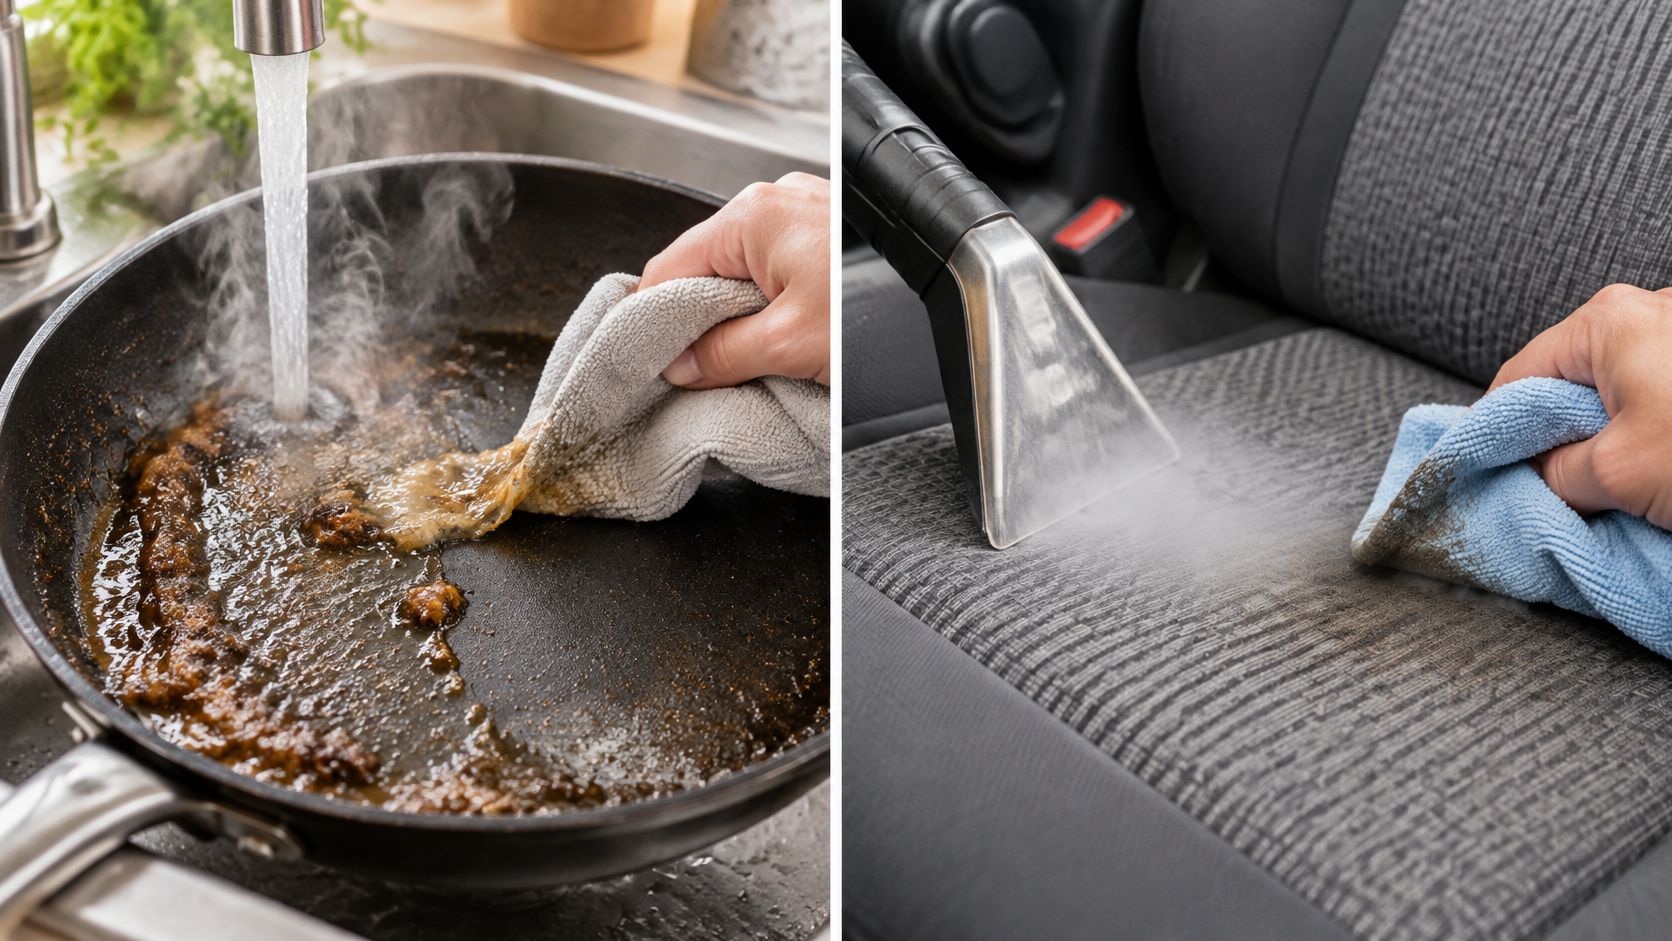
A greasy frying pan doesn’t come clean under a hot tap alone. Heat softens the grease, but a cloth still has to carry it away. Steam works on car fabric in much the same way.
Hot vapour reaches the surface and condenses, helping soften oily contamination such as body oils, food residue and smoke deposits. Heat can also help break down some odour-related compounds, but that’s different from removing the material responsible for the smell.
Before treating an odour, identify the affected area and decide how you’ll collect the loosened contamination.
Loosen, agitate and remove
A useful cleaning cycle has distinct jobs:
- Loosen: Controlled steam softens compatible surface soil.
- Agitate: A suitable upholstery attachment or gentle brush helps release contamination without roughing up the fibres.
- Remove: A clean towel absorbs light contamination, while an extractor recovers dirty moisture from more heavily affected fabric.
The last job is where weak cleaning methods fall short. A seat can look better while it’s warm and damp, yet still contain the soil that was just loosened. If the towel becomes dirty, change to a clean face rather than spreading that contamination across the next panel.
Steam cleaning isn’t merely a household trick. The Australian Bureau of Statistics’ Carpet Cleaner occupation description recognises cleaning carpets, rugs and furniture upholstery using powder, liquid and steam methods. That recognition supports treating the work as a skilled process, rather than just pointing a hot nozzle at fabric.
Choose a cleaning process that includes soil removal, not just a steam pass and a fresh fragrance.
What the machine actually does matters
A vapour steamer and a hot-water extractor aren’t interchangeable. The steamer supplies heat and moisture; the extractor applies and recovers cleaning liquid. Some equipment combines functions, so check what yours collects rather than relying on the word steam on the packaging.
For a light mark, controlled steam followed immediately by clean towelling may be enough. For dirty seat bases or contaminated carpet, recovery becomes the deciding part of the job.
Steam loosens dirt, and only extraction or towelling removes it.
Explore interior detailing costs
Is Steam Cleaning Better Than Shampoo and Extraction?
A seat with a small oily mark needs a different treatment from a carpet loaded with ground-in soil. Steam can help loosen grime on heat-tolerant fabric, while shampoo and extraction are generally more practical for heavy soiling. Vacuuming remains the first step for loose dust, grit and pet hair.
Each method adds or removes moisture differently, and that affects both the result and the time before the vehicle is ready to use. Steam loosens soil; towelling or extraction must carry it away. If the dirty moisture stays in the fabric or padding, the clean is incomplete.
Match the cleaning method to the soil, material and drying conditions before hiring equipment or booking an interior treatment.
Steam Cleaning Compared With Shampoo and Extraction
| Criterion | Steam cleaner | Shampoo and extraction | Vacuum only |
|---|---|---|---|
| Loosens embedded grease and body oil | Heat can help loosen surface grime | A suitable cleaning product can break down heavier soil | Limited on bonded oily soil |
| Odour treatment | Can help with compatible surface contamination | Can help when the source can be flushed and recovered | Limited for absorbed odours |
| Moisture added to fabric | Low to moderate when controlled | Can be high; recovery is important | None |
| Typical drying time | Several hours, potentially longer in padding | Several hours, longer after heavy wetting | No wet-drying period |
| Allergen and dust-mite load | Pair with thorough vacuuming | Can remove contaminant-bearing soil | HEPA vacuuming can help remove particles |
| Chemical residue | No detergent unless separately applied | Possible if rinsing and recovery are poor | No added cleaning product |
| DIY equipment cost | Moderate to high for capable equipment | Moderate, depending on hire or purchase | Lower if a suitable vacuum is already available |
| Best situation | Light grime or spot odours on suitable fabric | Heavy soiling on compatible seats and carpet | Routine maintenance |
These are practical comparisons, not fixed drying schedules or equipment prices. A lightly treated cloth surface may dry within several hours; a wet seat base can take longer because moisture stays in the padding. Plan for airflow and enough drying time before returning the car to regular use.
What About Allergies?
The Australian allergy-focused cleaning review reports carpet research in which repeated HEPA vacuuming reduced dust-mite allergen loading by about 81%, while adding dry steam raised the reduction to roughly 86%. Those findings are about carpet, not car seats. They support thorough particle removal, but they don’t promise the same result in a vehicle.
Cleaning may reduce contamination, but it isn’t medical treatment and can’t guarantee relief from asthma or allergies. Dust, pets or damp materials can keep reintroducing the source.
For an allergy-conscious clean, ask about thorough vacuuming and drying rather than relying on a blanket sanitising claim.
Which Method Fits Your Situation?
- Pet hair and dirty fabric: Remove the hair with vacuuming first. If soil remains, shampoo and extraction can clean compatible fabric, provided the equipment recovers the moisture well.
- Smoke or food odours: Find the contaminated area before treating it. Controlled steam may help on suitable fabric, but extraction is needed when the source is embedded and can be flushed out.
- Light marks on heat-tolerant cloth: Steam may be enough as the wet treatment, with clean towelling used to remove loosened soil.
- Leather or suede: Avoid fabric-steaming and carpet-shampoo methods. Follow care guidance for the specific material.
Routine cleaning and disinfection serve different purposes. NSW Health’s environmental-cleaning guidance distinguishes detergent cleaning from stronger disinfection for defined circumstances. Crumbs and body oil in a family car don’t automatically call for disinfectant on every surface.
Compare interior detailing costs
What Should You Do Before Steaming a Car Interior?
Preparation should answer whether you can clean the surface safely and finish the drying properly. If either answer is uncertain, don’t start wet work.
Keep clean towels, the appropriate attachment and your recovery equipment within reach. You shouldn’t need to leave a damp seat unattended while searching for something to remove dirty moisture.
Complete the preparation checks before filling the machine or applying any spot cleaner.
Your preparation checklist
-
Read the care instructions. Check seat and carpet labels, vehicle guidance and equipment warnings. A general fabric setting doesn’t override a specific heat restriction.
-
Identify each material. Use the suitability table rather than treating the entire cabin as cloth. Watch for mixed panels and coated trim beside fabric.
-
Vacuum thoroughly. Clean seams, cushion gaps and beneath floor mats so loose grit doesn’t become wet sludge. For stubborn hair, use a deliberate pet-hair removal process for seats, carpets and the boot before introducing moisture.
-
Remove mats and empty pockets. This exposes trapped debris and keeps personal items out of the wet-working area.
-
Pre-treat visible stains appropriately. Use a compatible fabric spot cleaner and follow its contact instructions. Keep ammonia and harsh solvents away from leather.
-
Complete the hidden-spot test. Wait until the patch is fully dry before judging it. A damp test patch can hide a watermark or altered texture.
-
Arrange ventilation. Park in a shaded, secure place where doors can stay open, with a fan ready for the drying stage.
-
Check the weather. Avoid starting when rain or high humidity will leave you unable to ventilate the cabin adequately.
-
Protect electronics and safety equipment. Keep steam away from airbag covers, seat-occupancy sensors and exposed wiring beneath seats. Don’t spray into electrical areas or dismantle safety components to gain access.
Go or no-go: If a spot test fails, a material remains unidentified or an important check can’t be completed, don’t steam that surface.
Prepare your seats and carpets
How Do You Steam Clean Car Seats and Carpets Step by Step?
Work in small, manageable sections with recovery ready beside you. The objective is controlled cleaning, not making every panel equally wet.
The sequence below combines steam application with immediate soil removal. Follow your machine’s instructions, including its filling, attachment and personal-protection requirements.
Set up your towels or extractor before the first steam pass so you can remove dirty moisture immediately.
Apply and recover in a controlled sequence
-
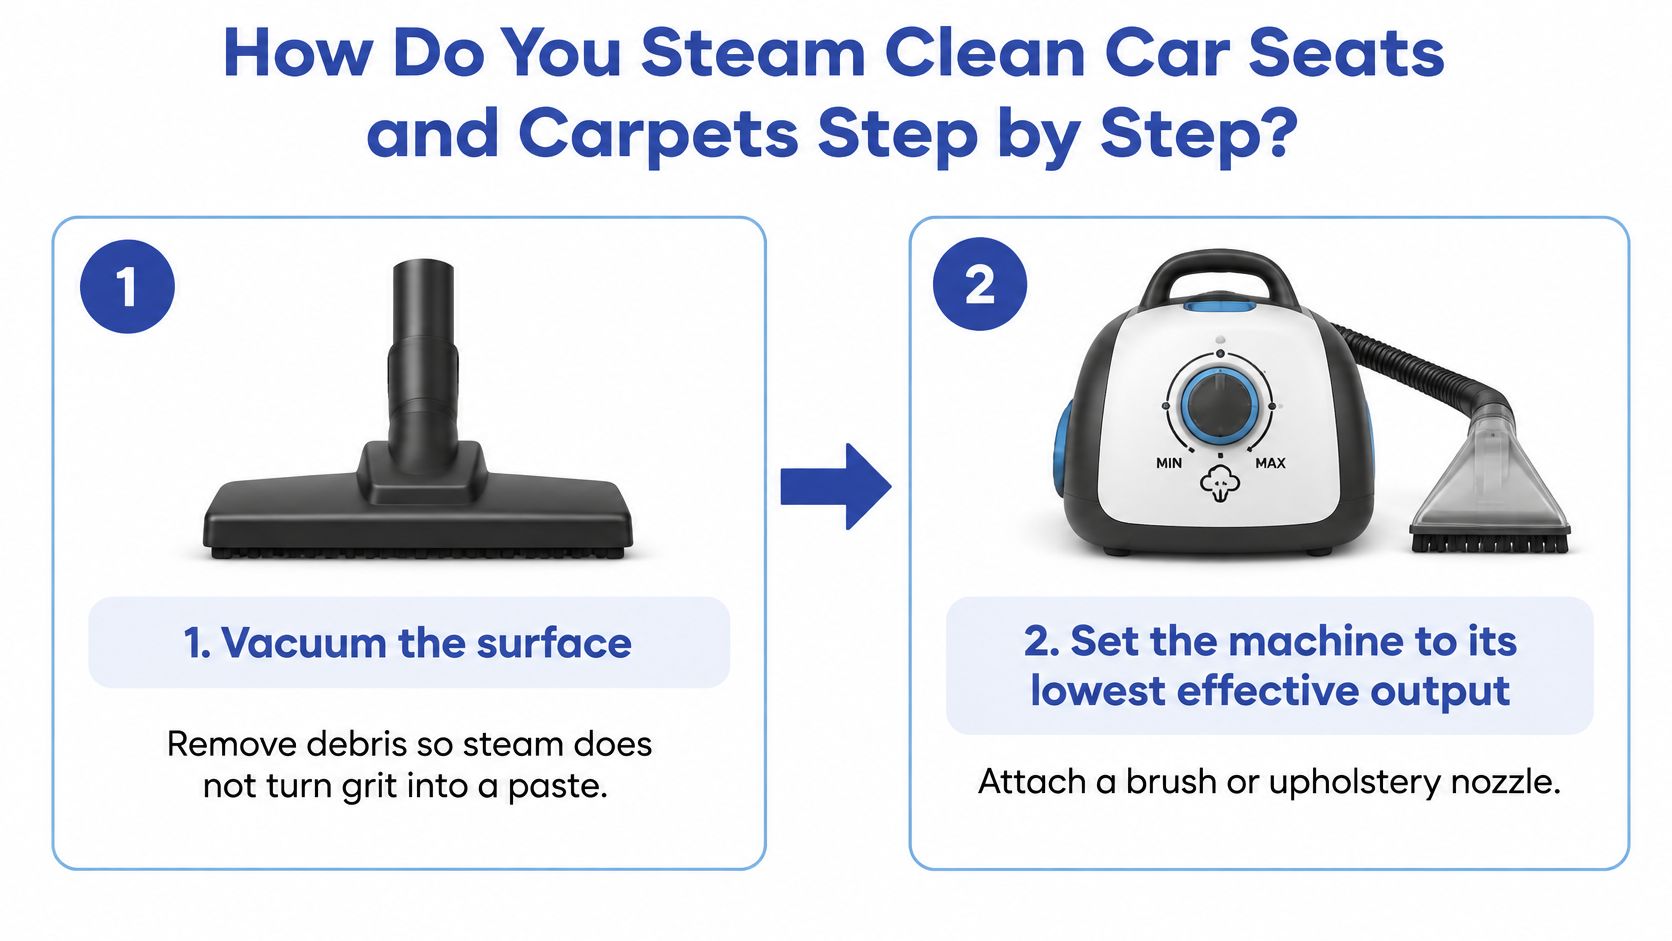
Vacuum the surface again where necessary. Remove remaining debris before wet treatment. The common slip is leaving grit in seams and dragging it across damp upholstery.
-
Select the lowest effective output. Fit an approved upholstery nozzle or soft attachment. Don’t assume maximum pressure will compensate for an unsuitable cleaner or an unidentified stain.
-
Choose a small working panel. Start with a seat panel or a manageable carpet section, rather than wetting the whole cabin. Keep pre-treatment within the area you can recover before it dries.
-
Move in overlapping strokes. Keep the nozzle moving at a controlled pace and use the equipment’s recommended working distance. Holding it stationary is the mistake to avoid, especially near seams and bonded edges.
-
Remove loosened soil straight away. Blot with a clean microfibre towel or recover with an upholstery extractor. Don’t keep wiping with a dirty towel or leave contaminated moisture sitting on the fabric.
-
Reassess heavy soil before another pass. Recover the first application, then decide whether another controlled treatment is justified. Repeatedly adding moisture without checking the result can turn a stubborn mark into a drying problem.
-
Manage tanks and attachments. For an extractor, empty and maintain the recovery system according to its instructions, and clean the nozzle between dirty areas. A dirty attachment shouldn’t carry contamination onto the next seat.
-
Check the panel by touch and recovery. It should feel damp rather than wet. If pressing releases obvious moisture, stop adding water and concentrate on recovery.
-
Begin drying immediately. Start airflow as completed panels become available. Don’t wait until the entire interior is finished before opening up the cabin.
What formal extraction practice adds
NSW Health’s carpet hot-water-extraction procedure specifies vacuuming first, appropriate protective equipment, pre-spraying no more than 20 square metres before extraction, two wand passes for badly soiled areas, and emptying the recovery tank when the distribution tank is empty. These are floor-carpet procedures, not permission to apply that amount of solution inside a car.
The transferable lesson is to keep application within your recovery capacity. In a vehicle, that means a small accessible panel, careful wand or towel work, and a fresh assessment before adding more liquid.
If a panel stays wet despite recovery, stop treating adjacent areas and solve the extraction or drying problem first.
Review professional detailing costs
Why Do Seats Stay Damp and What Goes Wrong After Steam Cleaning?
A seat can feel dry on top while its foam and the carpet backing underneath remain wet. Moisture control is part of the finished result. Steam may loosen soil and stains, but it does not remove the released dirt or excess water by itself. Extraction and drying complete the job.
WA Health’s guidance on cloth materials notes that steam can reduce stains, bacteria, bed bugs and dust mites, while added moisture raises mould risk. It warns that drying beyond 24 hours may allow mould or mildew growth. Drying time depends on how much moisture was applied and the ambient humidity.
Before accepting a wet-cleaning booking, ask how the vehicle will be dried and what condition it should be in at collection.
Why a dry surface can be misleading
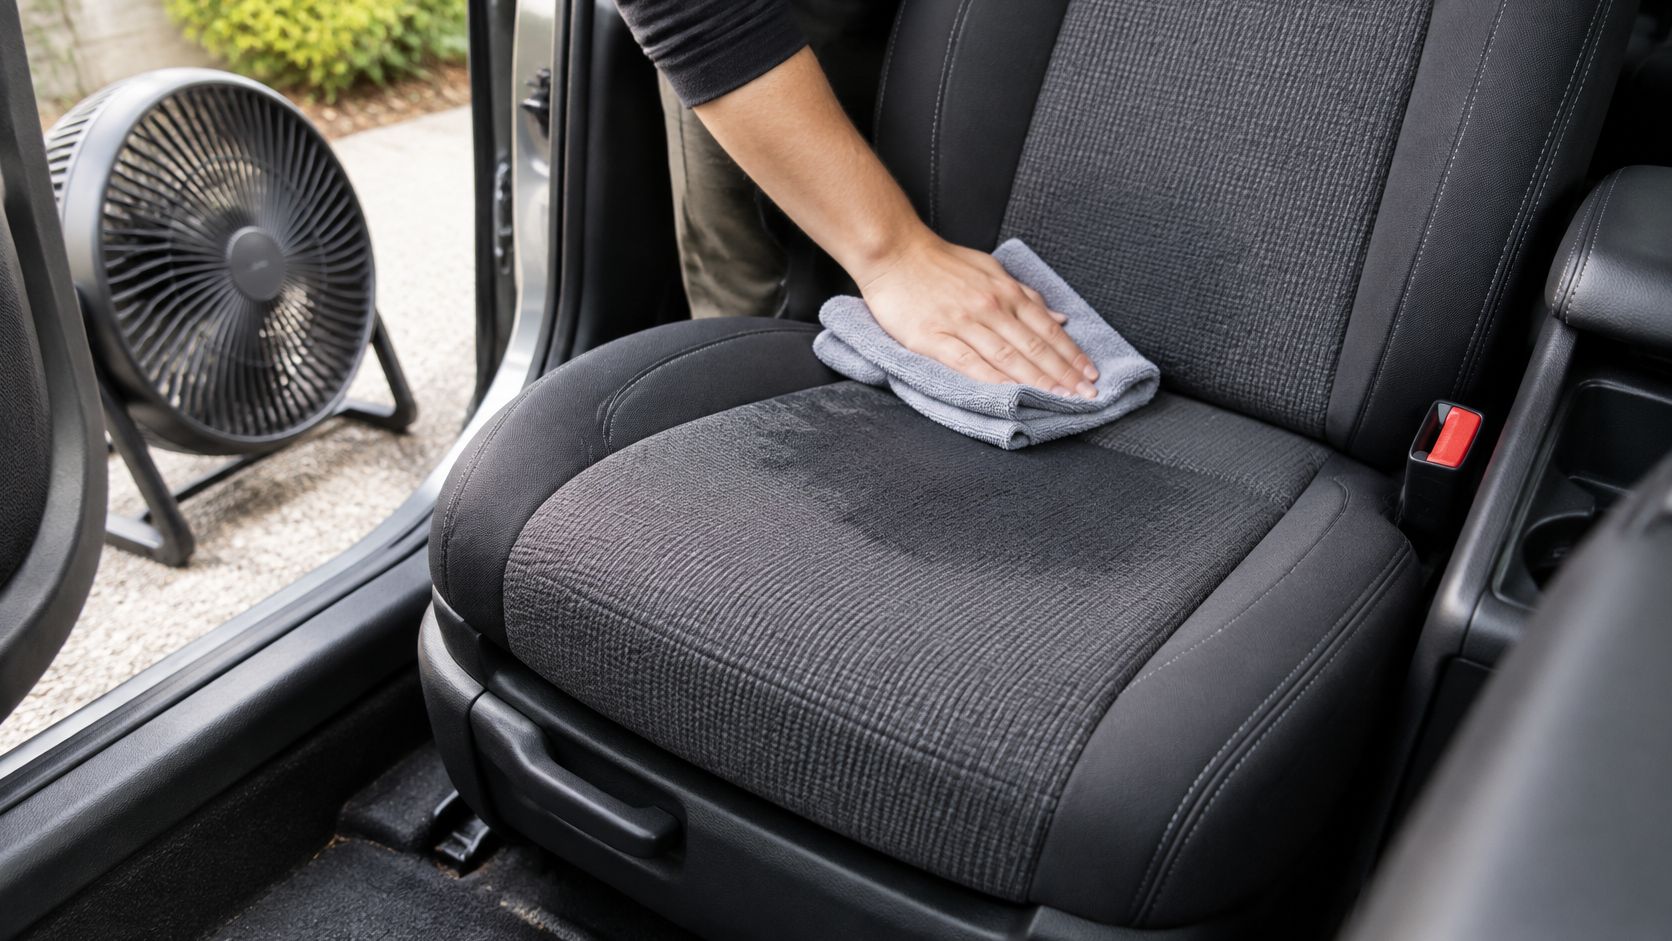
Seat foam, carpet backing and underlay hold moisture after the visible fabric feels dry. A quick fingertip check on the seat centre won’t reveal how damp the deeper layers are. Check seams, seat bases and accessible carpet edges before returning the vehicle to regular use.
A closed cabin can trap moisture against fabric and padding. In humid Perth weather, that can slow drying and leave the interior musty.
Check seams, seat bases and accessible carpet edges before deciding the cabin is ready for regular use.
A practical drying routine
-
Blot each completed panel. Press a dry towel against the fabric instead of rubbing hard. Replace it once damp, so it can keep absorbing moisture.
-
Use fans after blotting. Once a panel has been towel-dried, direct airflow across the treated seat or footwell. Keep electrical equipment protected and follow its safety instructions.
-
Keep the damp cabin vented. Leave doors or windows open in a secure, shaded place when conditions allow. Don’t close a still-damp vehicle overnight; use a suitable ventilated space.
-
Check below the surface. Press a folded dry towel into a seat-base seam or inspect an accessible carpet edge. Avoid disturbing wiring or trim. Moisture transferred to the towel means drying is unfinished.
-
Recheck the following day. Treat the WA Health drying guidance as a warning point. If the cabin is still damp or musty, continue drying and avoid normal use. Arrange an assessment if it isn’t improving.
Visible mould means stop DIY cleaning and seek professional assessment. Another hot pass can spread moisture without resolving the cause.
CSIRO’s mould guidance explains that mould grows when spores encounter moisture and organic material. Damp, dark, poorly ventilated conditions encourage growth. Removing visible mould may only be temporary if the moisture source remains.
If dampness keeps returning, arrange an inspection for the moisture source rather than booking repeated surface cleaning.
Post-clean symptoms, causes and fixes
These are possible causes, not diagnoses. Start conservatively. Don’t add water to a damp seat just because a mark remains.
| Symptom | Likely cause | Fix |
|---|---|---|
| Watermark rings on cloth | Uneven wetting, excess water or mineral residue | Once dry and proven colourfast, lightly re-dampen the affected area, blot and dry with airflow |
| Stain returns or wicks back | Soil left below the surface or cleaning residue | Use controlled clean-water extraction, then dry fully |
| Stiff or crunchy carpet | Detergent remaining in the pile | Rinse lightly with clean water and extract |
| Musty smell after two days | Moisture retained in padding or underlay | Continue fan-assisted drying, inspect beneath accessible edges and seek assessment |
| Colour bleed or fade | Dye instability under heat or moisture | Stop. If safe, cautiously blot with a cold-water-dampened cloth, then seek professional advice |
| Leather tacky or cracking | Possible heat or moisture damage to the finish | Stop and seek repair advice before applying a compatible conditioner |
| Faint smell persists | A source such as milk or urine remains | Locate the source; use a material-compatible enzyme product where appropriate, then dry |
| Fabric fuzzy after drying | Fibres disturbed by aggressive brushing | Stop abrasive work; gently groom only when dry and seek advice if damage remains |
What a useful handover should include
A detailer should explain what was treated, whether any areas remain damp and what ventilation is still needed. “It’ll dry eventually” gives little help when the vehicle is needed for school runs or a rideshare shift.
Ask whether the odour source was accessible and whether any marks were left untreated after material testing. A clear limit is safer than aggressive cleaning that changes the fabric’s colour or finish.
Tell the detailer when you need the car back in service so drying can be considered before the work starts.
When arranging a local hand car wash and interior-care visit, describe existing mustiness, previous spills and any damp carpet. This helps identify whether the job is routine cleaning or needs closer investigation of a moisture problem.
Fix moisture before adding more steam. Stop immediately if colour transfers, the texture changes or a leather finish becomes tacky.
Explore local interior-care options
Should You Book a Professional Steam Clean Instead?
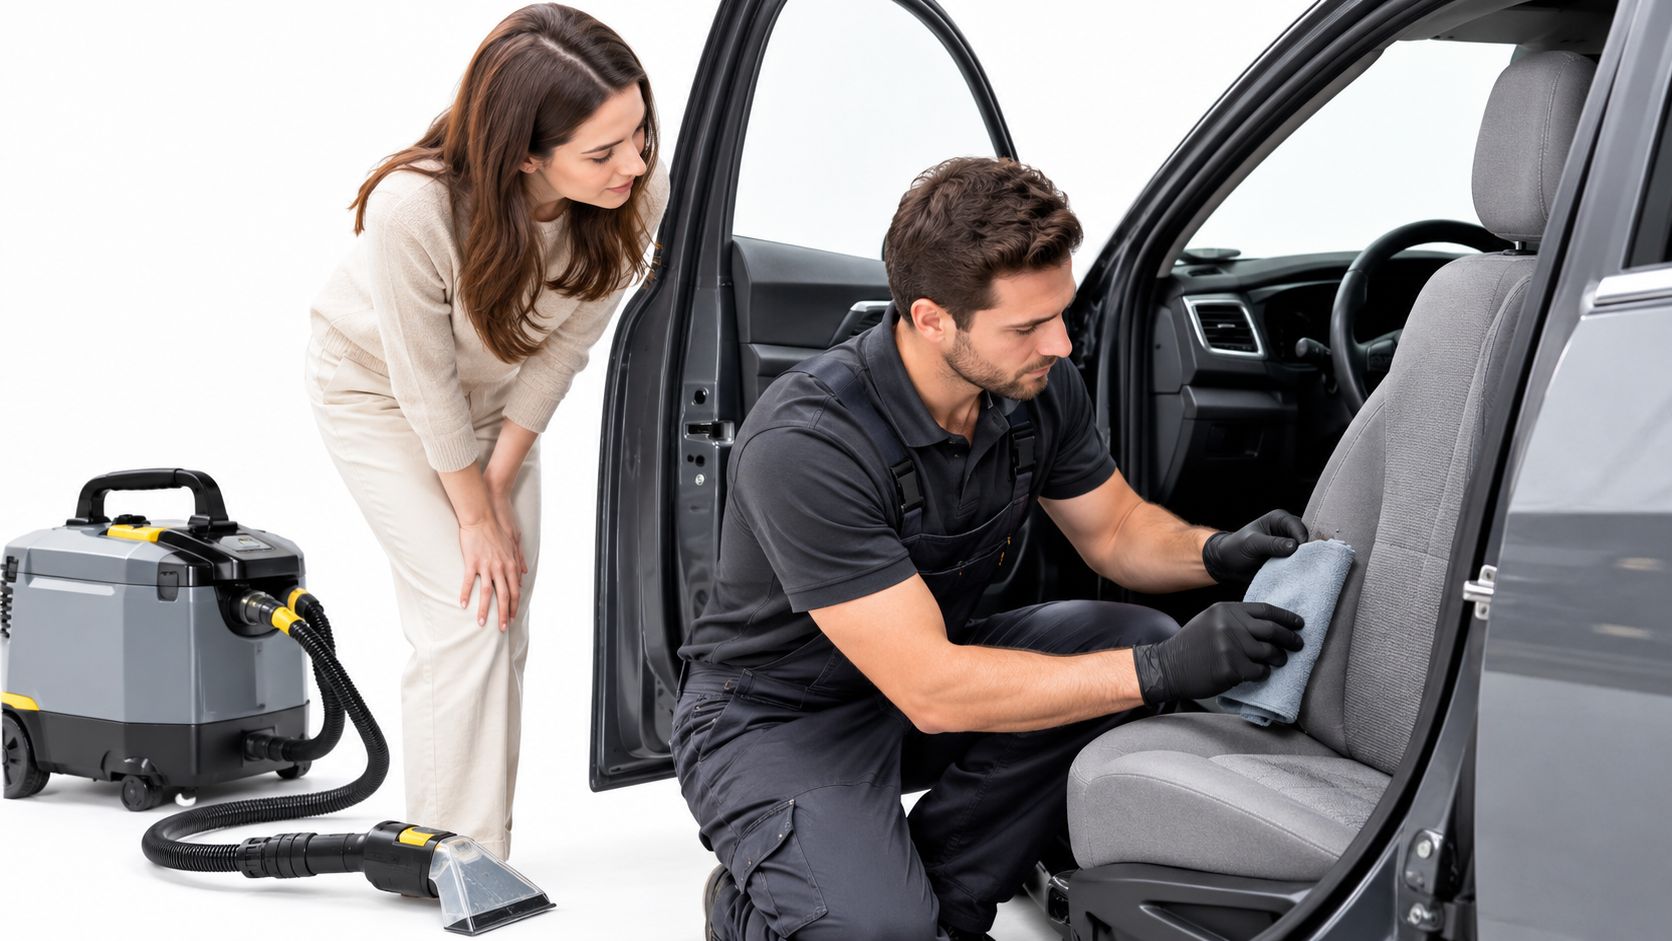
A damp seat with a deadline for the school run is a poor DIY test case. Handle light grime yourself only when the fabric is confirmed heat-tolerant, a discreet spot test passes and you can allow the interior to dry fully. Persistent urine or deep odour, visible mould, delicate trim, or a failed test are reasons to get professional advice.
Choose a service based on the material and the problem. Leather and suede need suitable specialist care. Mould or lingering dampness should be assessed before routine cleaning, since adding steam does not solve the source of moisture.
Describe the material, spill history and return-to-use deadline when requesting a quote.
Professional steam cleaning costs and when to book
Household carpet-cleaning prices offer a rough point of reference, not a vehicle quote. Car seats and carpets vary in material, access and soil, so ask what the price covers and whether extraction and drying are included.
| Service or scenario | Typical price | Book when |
|---|---|---|
| Household carpet cleaning | Roughly A$25–A$50 per room as a household benchmark | Routine cleaning or light odour; confirm the treatment suits the material |
| Household carpet cleaning with a call-out minimum | Around A$25–A$60 per room; minimum call-out near A$99 | Check the minimum charge and included work before booking |
| Visible mould or lingering damp | Assessment-based quote | Stop DIY and arrange an assessment |
Ask the detailer what the steam will loosen and how the loosened soil and moisture will be removed. Steam can help release grime; extraction takes away contaminated liquid. Without effective moisture removal and enough ventilation, seats can remain damp after the surface feels warm or dry.
Prime Shine Hand Car Wash offers a seats-and-carpet steam-clean add-on, as well as leather cleaning and conditioning for interiors needing a different approach. Check its car-interior detailing cost guide and confirm current pricing, scope, extraction method and expected drying time before booking.
If material instructions allow, do a hidden-spot test first. If colour transfers or the texture changes, stop and explain what happened when you seek professional advice. Prime Shine Hand Car Wash also offers seats and carpet steam cleaning and leather cleaning and conditioning. To discuss service options, visit Prime Shine Hand Car Wash and mention any persistent odours, dampness or material concerns before booking.