








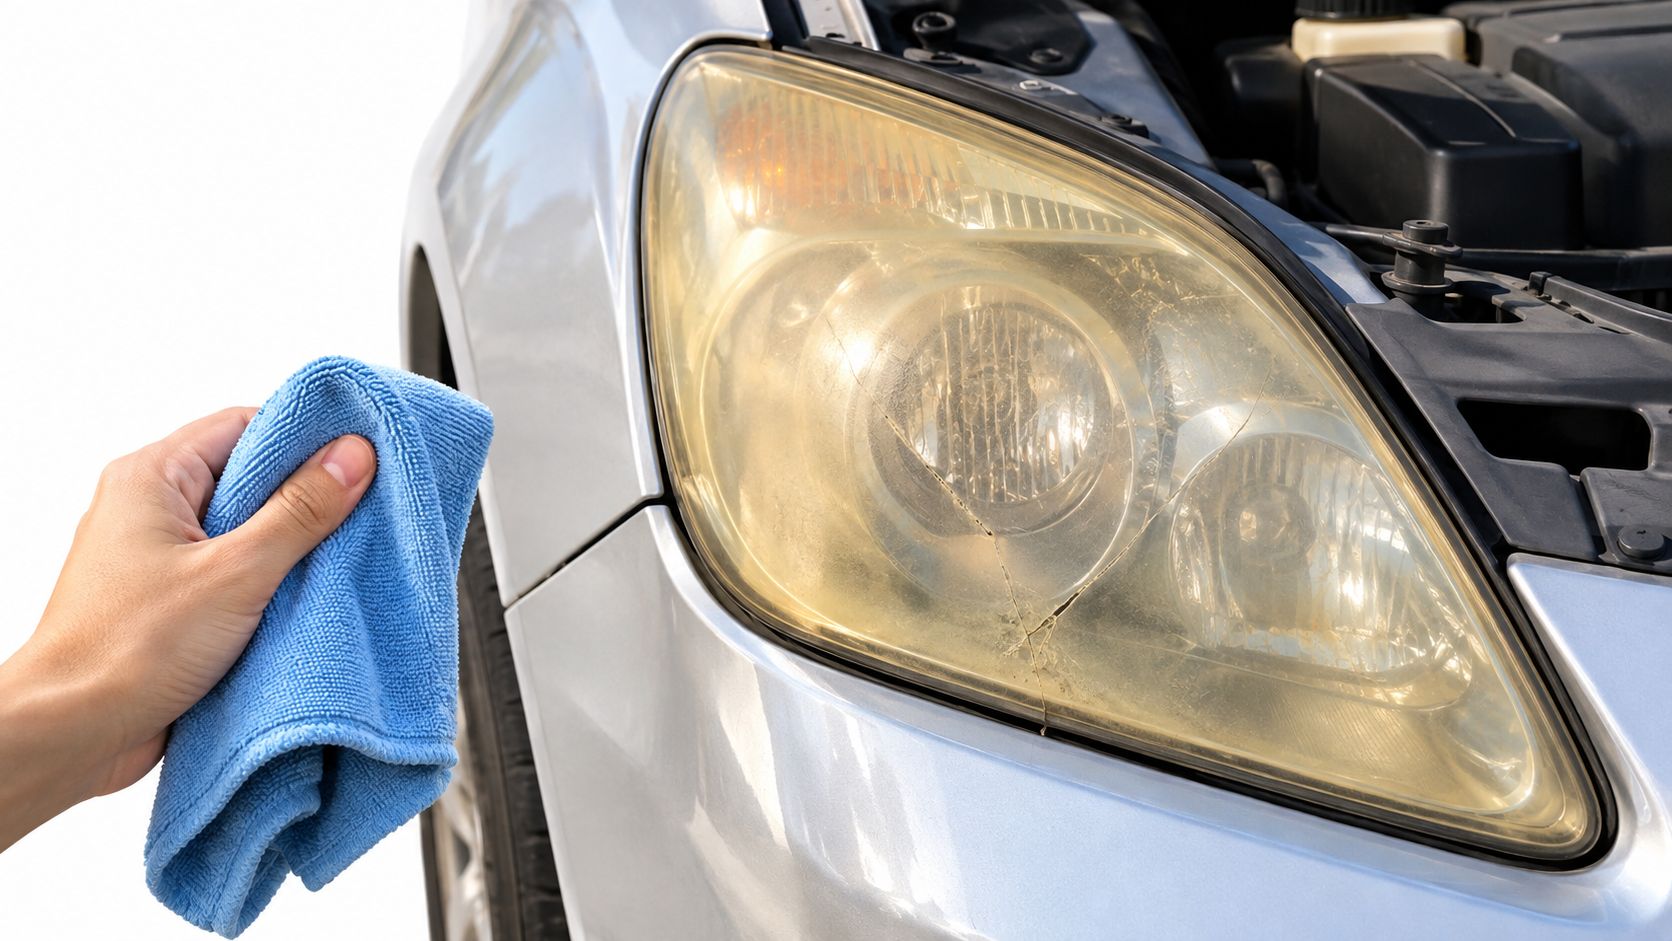
You jump into the car, switch on the lights, and the lenses look tired, yellowed, and a bit cloudy. That’s the moment most owners realise the problem isn’t cosmetic. It’s a visibility issue, and a Hand Car Wash mindset helps because the fix has to be deliberate, clean, and stage by stage, not rushed.
Why Restoring Headlights Matters?
Clouded headlights do more than age the front of the car. They scatter light, so night driving feels less confident and the beam does not reach the road cleanly. A lens that looks only a little dull in daylight can become a real visibility problem after dark.
Australian conditions push that wear along faster than many drivers expect. Sun, heat, and road grime break down the polycarbonate surface over time, so the lens needs more than a quick wipe. A careful, hand-finished method matters because it treats the headlight as a surface that can be corrected, not just cleaned.
The trade-off is simple. Surface oxidation can often be restored with patient work, but cracking, internal fogging, or damage through the plastic will not respond to polishing. That is the same defect-aware mindset used in a premium hand car wash, where each stage has a purpose and the finish depends on not rushing the earlier steps.
For Perth drivers, headlight restoration guidance for Perth vehicles follows that logic too. The goal is clearer output without harming the paint, trim, or surrounding panels.
What You Need Before You Start?
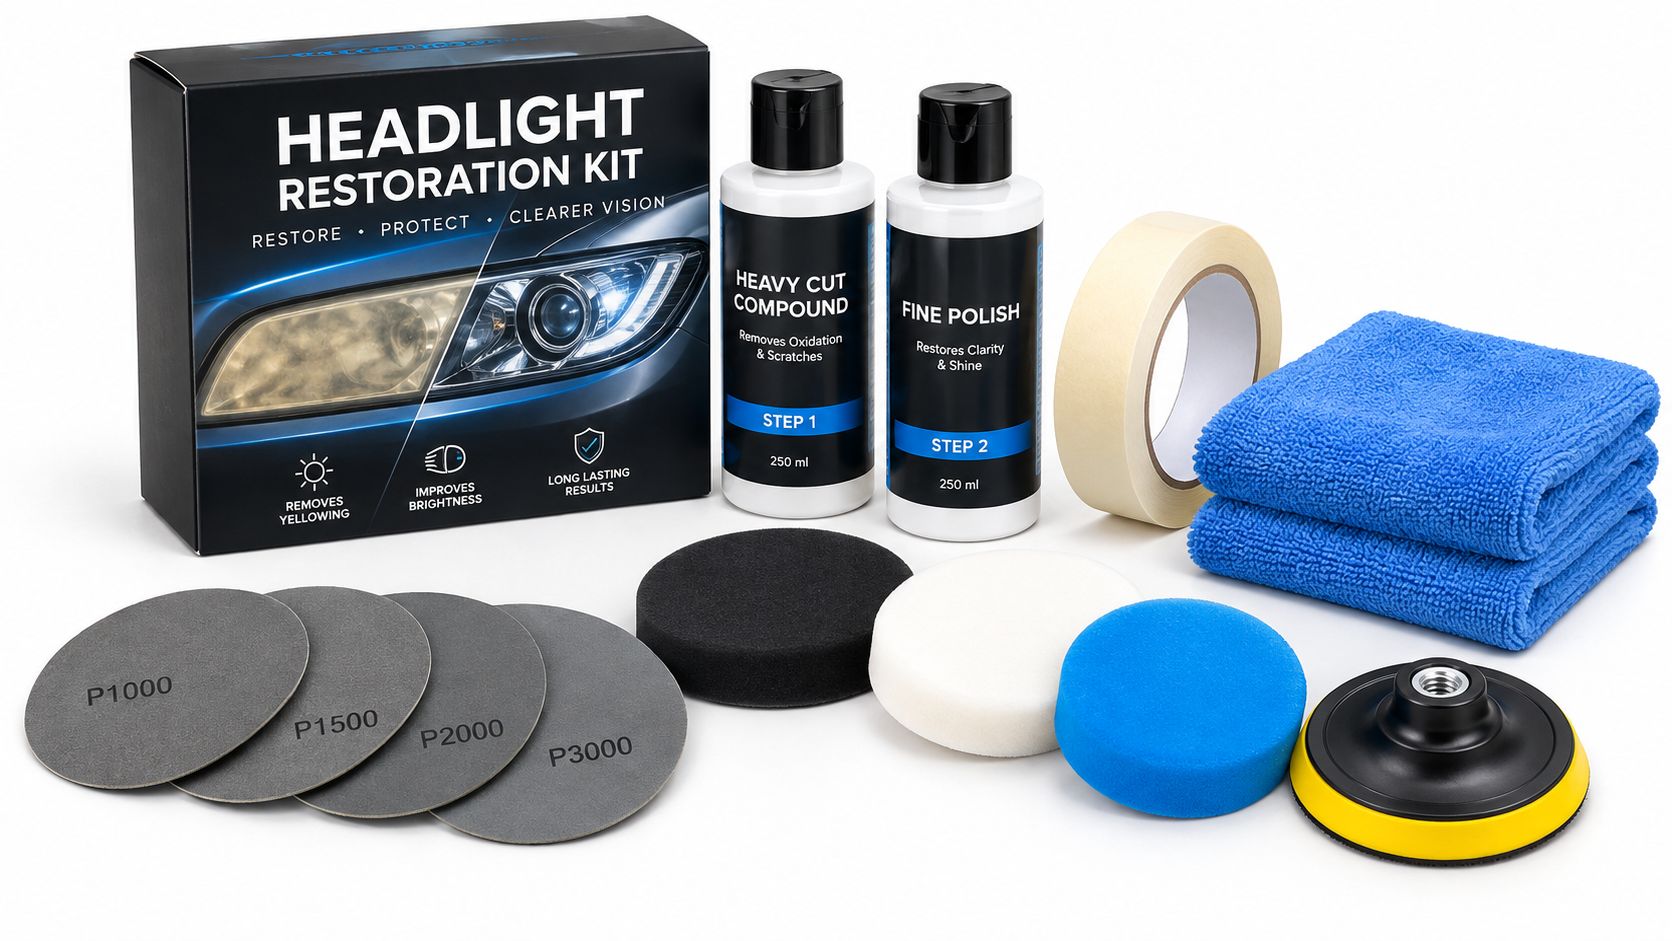
A good restoration starts at the bench. If the kit is half assembled, you waste time swapping grits, contaminate pads, and lose control of the finish. Gather wet-dry sandpaper, masking tape, a spray bottle or bucket of clean water, polishing compound, and a UV sealant or ceramic coating made for automotive lenses before you touch the headlight.
Build the kit in the order you’ll use it
Start with the abrasives, because they do the correction work. Use a stepped grit sequence so each stage removes the marks from the one before it, rather than forcing one coarse sheet to do everything. That is what keeps the lens from coming out rougher than it went in.
A clean bench matters too. Once grit lands on a polishing pad, it stops finishing the surface and starts cutting it.
Masking tape protects the paint, trim, and grille while you work and gives you a clearer edge to follow. If the lens is badly cracked, chipped through, or fogged from the inside, stop and assess it before sanding. Polishing will not fix structural damage or trapped moisture.
If you are using a restoration spray rather than a compound-based kit, our spray explainer explains when it is the right call and when it falls short.
For Perth drivers, water use also has to fit local rules. The Bureau of Meteorology’s water-restriction guidance says motor vehicles may be washed with water from a bucket or watering can, a high-pressure low-volume cleaner, or a hand-held hose fitted with a trigger nozzle. That lets you keep the job controlled without making the setup more complicated than it needs to be.
Prepping the Headlight Surface
Wash the lens first. Soap and clean water remove loose grit, and that matters because any leftover dirt becomes a scratch source the moment sandpaper hits the surface. Dry the headlight completely, then tape around the lens so the bodywork, grille, and trim stay protected.
Clean first, then isolate the work area
This is the part most DIY jobs underplay. The surface has to be free of road film, wax residue, and loose dust before the abrasive stages begin, otherwise the sanding just drags contamination across the plastic. A shaded workspace helps too, because hot panels make compounds dry too quickly and leave a messy finish.
A badly cracked or internally damaged lens needs a different solution. Sanding can remove oxidation, but it won’t repair broken plastic or moisture trapped inside the assembly. If you can feel deep damage through the lens, that’s a sign to stop before you waste time on a process that can’t fix the fault.
Practical rule: prep isn’t a warm-up, it’s the quality control stage that decides whether the rest of the job works.
The logic is the same as careful hand washing. A clean panel lets the next step focus on correction instead of moving debris around. That’s why a careful hand wash routine and a careful headlight prep routine belong together.
The Wet-Sanding and Polishing Process
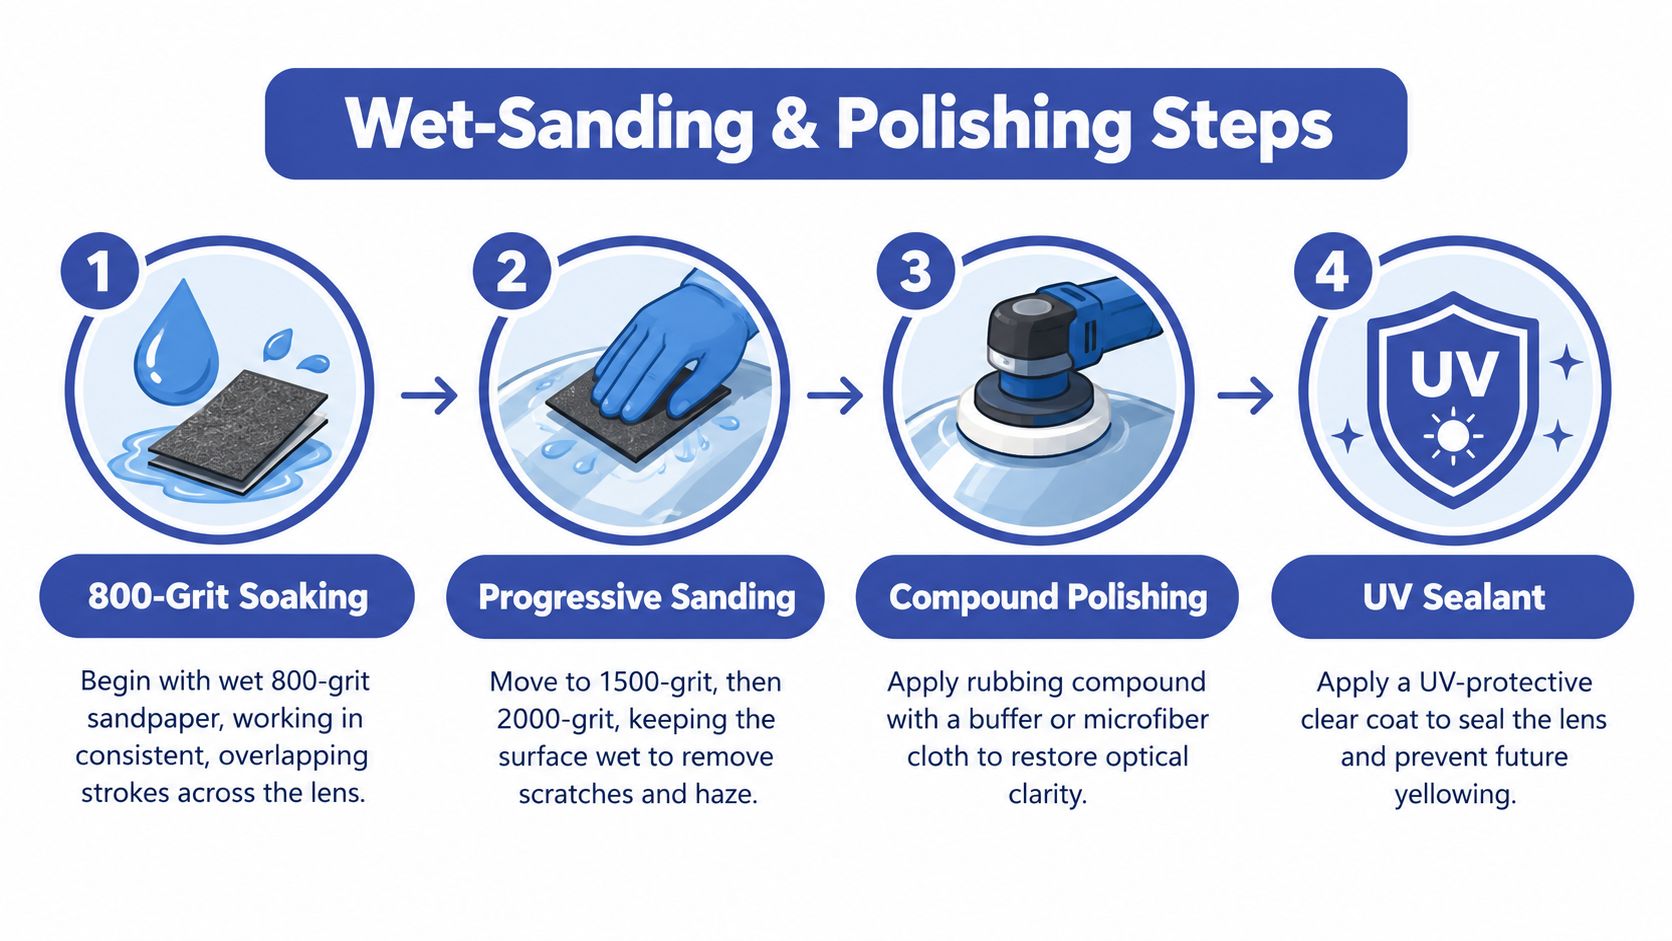
Start with 800-grit wet sandpaper and keep it soaked. Work in steady overlapping passes so the heavy yellowing and oxidation come off evenly, not in patches. Keep the surface wet the whole time, because dry sanding builds heat and leaves deeper scratches than you want to chase later.
Move through the grits without skipping
Once the heavy haze is reduced, step through 1000, 1500, and 2000 grit. Each stage is there to erase the scratch pattern from the previous one, so the lens gets progressively finer and more uniform. By the time you reach 3000 grit, the surface should look evenly hazy rather than heavily marked.
After that, use a polishing compound with a dual-action polisher or a quality buffing pad by hand. Work the compound until the sanding haze disappears and the lens starts to clear. This part rewards patience more than pressure, because hard pushing usually leaves you with uneven correction and more cleanup.
The middle grits decide the finish. If you rush from coarse sanding straight to polishing, the lens often stays dull no matter how much compound you use.
That same staged mindset shows up in other paintwork correction tasks, including careful cut and polish methods for Perth vehicles, because the surface has to be refined before it can be finished properly.
Explore Cut and Polish Services
Sealing and Protecting the restored Lens
Polish restores clarity, but it doesn’t protect the plastic from UV damage. If you leave the lens bare, the same sunlight and exposure that caused the oxidation in the first place will start the cycle again. That’s why the sealing step matters as much as the sanding.
Apply a UV sealant or a ceramic coating made for automotive lenses, and follow the product instructions carefully. Thin, even layers are safer than one heavy coat, because thick application tends to cure unevenly and can leave the finish looking patchy. The point is to create a sacrificial barrier that takes the abuse instead of the lens itself.
For regular maintenance, a gentle wash routine supports the protective layer rather than wearing it away. Ceramic-coating care guidance for Perth drivers fits that same logic, because good upkeep protects the work you’ve already done.
When the sealing step is done properly, the lens stays easier to clean and less likely to haze again quickly. That’s the payoff, not just short-term shine, but a finish that holds up through normal driving.
Learn About Ceramic Coating Care
Troubleshooting Common Problems
Deep scratches usually mean the sanding was too aggressive, too uneven, or both. If you can feel grooves with a fingernail, don’t try to polish them away at the end and hope for the best. Go back to an appropriate coarser stage and work the progression properly.
Read the lens, then choose the fix
Cloudiness after polishing often comes from one of two things, either the sanding marks weren’t refined enough, or the compound didn’t get enough working time. Uneven haze usually points to inconsistent pressure or missed areas during sanding, which is a process problem rather than a product problem. The fix is usually more methodical work, not more force.
Cracking and crazing are different. Once the lens itself has structural damage, sanding and polishing won’t restore it, and pushing harder can make the problem worse. That’s the point where the smart move is to stop treating it as a correction job.
If the lens is only oxidised, restore it. If the lens is broken, replace it.
That distinction saves time, money, and frustration. A DIY job is only worth doing when the damage is on the surface and the lens still has enough integrity to respond to correction.
Get Expert Help With Headlights
When to Choose Professional Service or Replacement?
There’s a clear line between a restoration job and a replacement job. If the lens is severely cracked, internally fogged, or damaged beyond the outer layer, sanding won’t solve it. A proper assessment at that point is more valuable than another round of abrasive work.
Perth drivers have a decent local pool of hand-finish expertise to draw from, and Western Australia’s share of establishments sits at about 12.0% versus 10.1% of the population share, which suggests strong service density in Perth and surrounding suburbs. The industry report points to a market where careful process control matters because growth is limited and competition is real.
That’s where professional hand work becomes useful. A full hand wash, detailing, or correction process can handle the prep, the sanding progression, and the sealing in one controlled workflow, which helps when the headlights are badly oxidised or the rest of the vehicle needs a broader refresh at the same time. Prime Shine Hand Car Wash offers headlight restoration as an extra service, alongside hand washing, detailing, and cut and polish work, so it’s a practical option when the job has outgrown a simple DIY session.
The bigger lesson is simple. Hand Car Wash methods work because they respect surfaces, stages, and finish quality. If you keep the process clean, sand in sequence, polish patiently, and seal the result, you’ll get headlights that look clearer and perform better. If the damage is too far gone, replacement is the right call, and if you want the work handled within a proper detailing routine, Prime Shine Hand Car Wash is ready to help with the kind of careful, hands-on approach this job demands.