








For a Perth daily-driven vehicle, condition leather seats every 2-3 months, shortening the interval during peak summer or for cars parked outside and used by families; a garaged weekend car can usually stay closer to three months. Clean the seats more often when they’re dirty, but don’t mistake a wipe-down for a conditioning treatment.
You’re probably asking because the driver’s bolster looks dull, the seats feel a little dry, or someone’s told you to condition leather regularly. The practical answer depends on what’s happening to the surface: Perth sun and heat, passenger use, and whether the seat is coated leather, vinyl, or another synthetic material all matter. Adding conditioner on a fixed schedule without checking the seat can leave a greasy film rather than improve it.
Why Conditioning Leather Seats Is Not the Same as Cleaning Them?
A light wipe of the driver’s bolster every few weeks removes surface grime. A conditioning treatment is a separate job, done after cleaning and drying. For a daily-driven Australian car, a practical starting point is conditioning every 2-3 months, then adjusting for use and exposure. Australian automotive-care guidance supports that interval as a general maintenance milestone.
Cleaning removes dust, body oils, sunscreen, and grime. Conditioning is intended to help maintain the seat’s surface finish and flexibility. It won’t lift ingrained dirt, and it won’t repair cracks that have already formed. If the seat is dirty, conditioner won’t fix the problem. It can instead leave residue over the grime.
| Task | How often | What it actually does |
|---|---|---|
| Light cleaning | Every few weeks, or when grime appears | Removes surface dust, sweat, sunscreen, and transfer |
| Complete clean | Every few months, adjusted for use | Clears buildup before any conditioner goes on |
| Conditioning | After cleaning and drying, generally every 2-3 months | Helps maintain the finish and flexibility |
The difference matters because many modern car interiors use coated leather, synthetic leather, or mixed materials. A coating changes how the surface responds to products, so traditional oily conditioners aren’t automatically suitable. Check the owner’s manual and the seat material before treating it.
Practical rule: Clean when the seat is dirty. Condition when the surface needs it, not simply because the calendar says so.
For the cabin as a whole, start with a consistent routine for cleaning your car’s interior the right way. Keep three factors in mind when deciding how often to condition: climate, use, and surface type.
See Our Interior Cleaning Guide
Climate and Usage Factors That Move the Schedule
In Perth, the same car can need different care across the year. Direct sun and cabin heat put extra stress on the seat surface, so a vehicle left outdoors through summer may need conditioning closer to every two months. A garaged weekend car can generally stay nearer the three-month end of the schedule. Australian guidance on leather-seat care identifies strong UV exposure and high temperatures as reasons to inspect and treat seats more often.
The main variables are straightforward:
- Outdoor parking: Seats exposed to direct sun for long periods deserve more frequent checks. Park in shade where practical, and use a windscreen sunshade to reduce the cabin’s exposure.
- Family use: Children, frequent passenger movement, sunscreen, sweat, and clothing transfer mean more regular cleaning of contact areas. That doesn’t automatically call for more conditioner.
- Rideshare or delivery work: Long hours and repeated entry and exit increase friction on the driver’s seat and bolster. Inspect those high-contact areas rather than relying on mileage.
- Weekend use and a garage: Less exposure and contact usually make the longer end of the interval more practical.
- Coastal conditions: Salt and surface contamination call for regular wipe-downs with a damp cloth. Wiping off contamination is not the same as conditioning.
Window tint and a windscreen sunshade help reduce direct exposure, but they don’t remove the need to inspect the seats. Check the driver’s bolster and exposed headrests first, since they can show wear before less-used areas. Guidance on leather-seat exposure and wear zones also highlights the value of checking exposed surfaces rather than following the calendar alone.
Use this simple decision: if the vehicle lives outdoors, carries passengers daily, or works long hours, lean toward the shorter interval. If it’s garaged and lightly used, don’t condition more often just to be safe. For broader cabin protection habits, see why your car’s interior deserves protection.
Learn How to Protect Your Interior
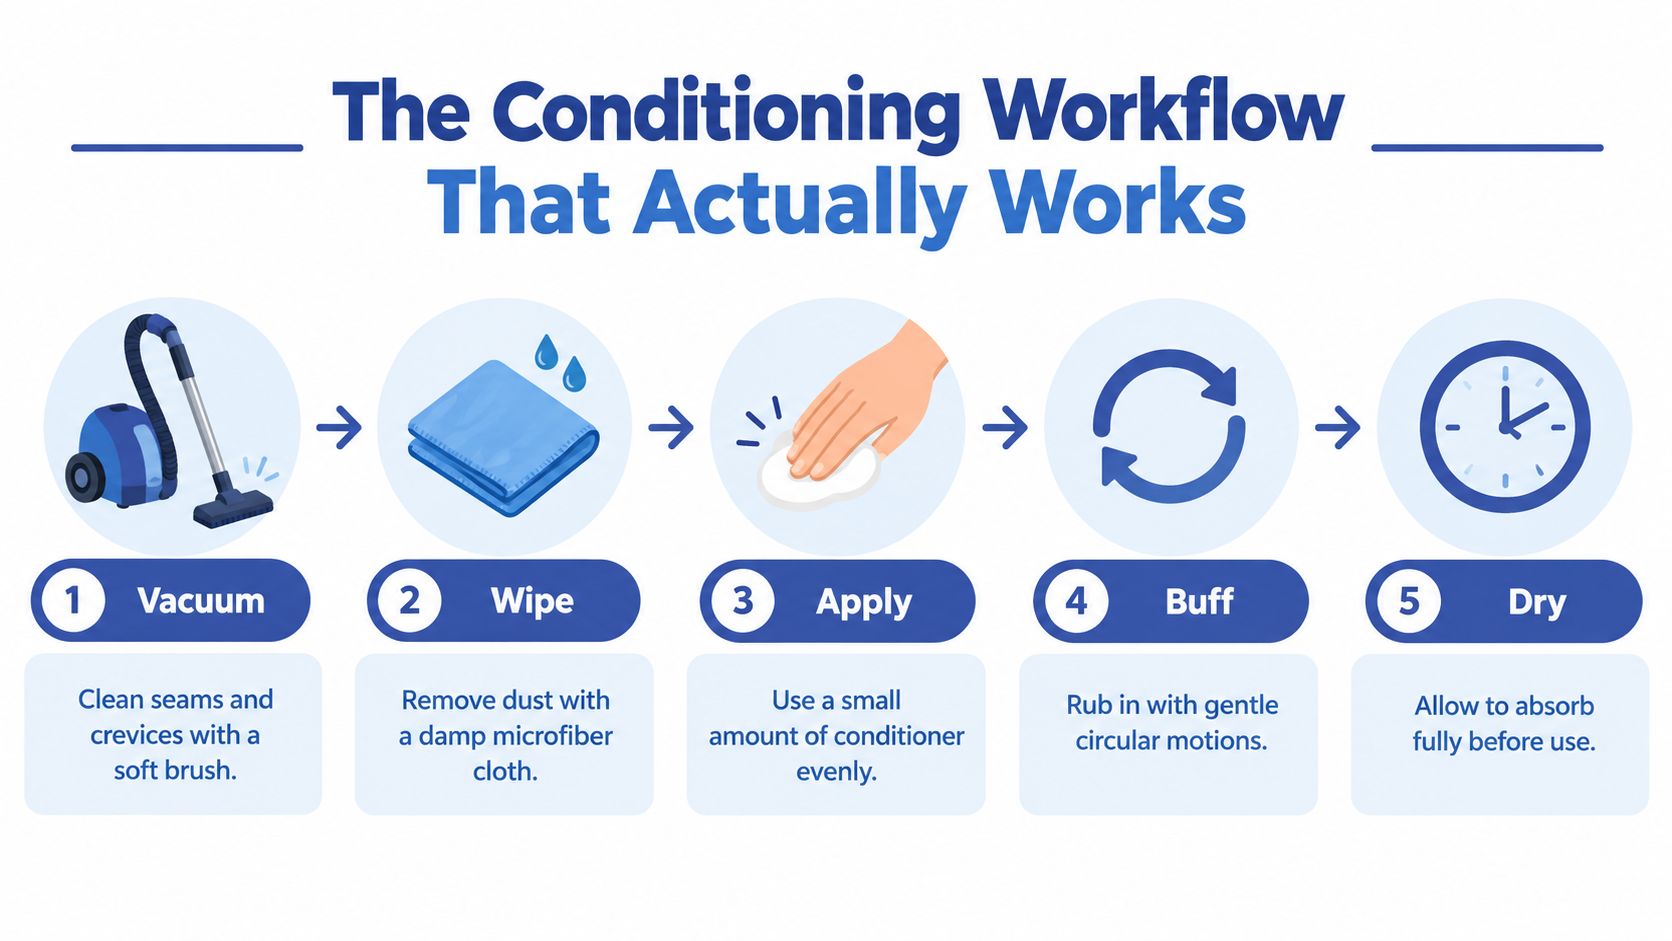
The Conditioning Workflow That Actually Works
Condition only a clean, dry seat. If you put product over dust or grime, you’re spreading that buildup around and making it harder to judge the surface afterwards.
Start by vacuuming the seams and crevices with a soft brush. Then test the cleaner and conditioner in a concealed area before using them across the seat. For the clean, work in small sections: apply a purpose-made leather cleaner to a soft brush or microfibre applicator, not straight onto the seat. This is especially important on perforated or ventilated panels, where direct spray can push liquid into the holes.
Agitate gently, wipe away the residue, and let the surface dry. Only then apply a small amount of suitable conditioner and buff away any excess. The recommended leather-care workflow also emphasises gentle application and keeping liquid out of perforations.
Check what the surface can take
Many modern automotive leather seats have a polyurethane coating. That means the coating, rather than the underlying hide, is the surface you’re cleaning. A small amount of water beading on an inconspicuous spot can be a clue that the surface is coated, but it’s not a substitute for checking the owner’s manual or product guidance.
Coated leather generally needs gentle cleaning and care for its finish, not repeated applications of oil. Don’t scrub hard to force a result, and don’t flood the panel. If the seat has perforations, use a controlled amount of product on the applicator and wipe carefully around the holes.
The routine doesn’t need to be elaborate. Vacuum, clean, remove residue, dry, condition sparingly if needed, and buff. That keeps the process repeatable without turning every wipe-down into a full treatment.
Book a Leather Cleaning Service

Choosing and Testing a Conditioner That Suits Your Seats
Don’t choose a conditioner by the label alone. Match the product to the seat material and finish, then test it somewhere inconspicuous before treating a whole panel.
| Product type | Where it may suit | What to watch for |
|---|---|---|
| Lotion-style cream | Solid panels where you can apply a controlled, thin layer | Use sparingly on coated surfaces, which may not absorb oily products |
| Spray-on dressing | Broad areas where even coverage is easy to manage | Apply to an applicator first around perforations, not directly into the holes |
| Wax-heavy balm | Surfaces specifically suited to that formulation | It can leave a heavy feel or visible residue if the seat isn't compatible |
| Professional treatment | Seats with stubborn buildup, uncertain material, or visible wear | Ask for a material-specific inspection before treatment |
Look for clear directions that say the product is suitable for automotive leather or PU-coated leather. A pH-balanced cleaner is useful for cleaning, but don’t assume that makes a conditioner suitable for every seat material. Vinyl and synthetic leather may need a different type of care from uncoated hide.
Be cautious with silicone-heavy dressings. If a product leaves a greasy gloss, a slippery feel, or residue that attracts dust, it’s not doing your cabin any favours. A light-coloured interior also makes unwanted residue and uneven application easier to spot.
Test a small, hidden area first and let it sit before judging the finish. Look for discolouration, tackiness, gloss, or a change in texture. If the result looks wrong, stop there rather than spreading the product across the seat.
A conditioner isn’t better because it feels richer. The right product leaves a clean, even finish without a greasy film.
If you’re also deciding how to protect other cabin surfaces, use this guide to interior protectant as a separate reference. Don’t treat every material inside the car as though it were leather.
Read the Interior Protectant Guide
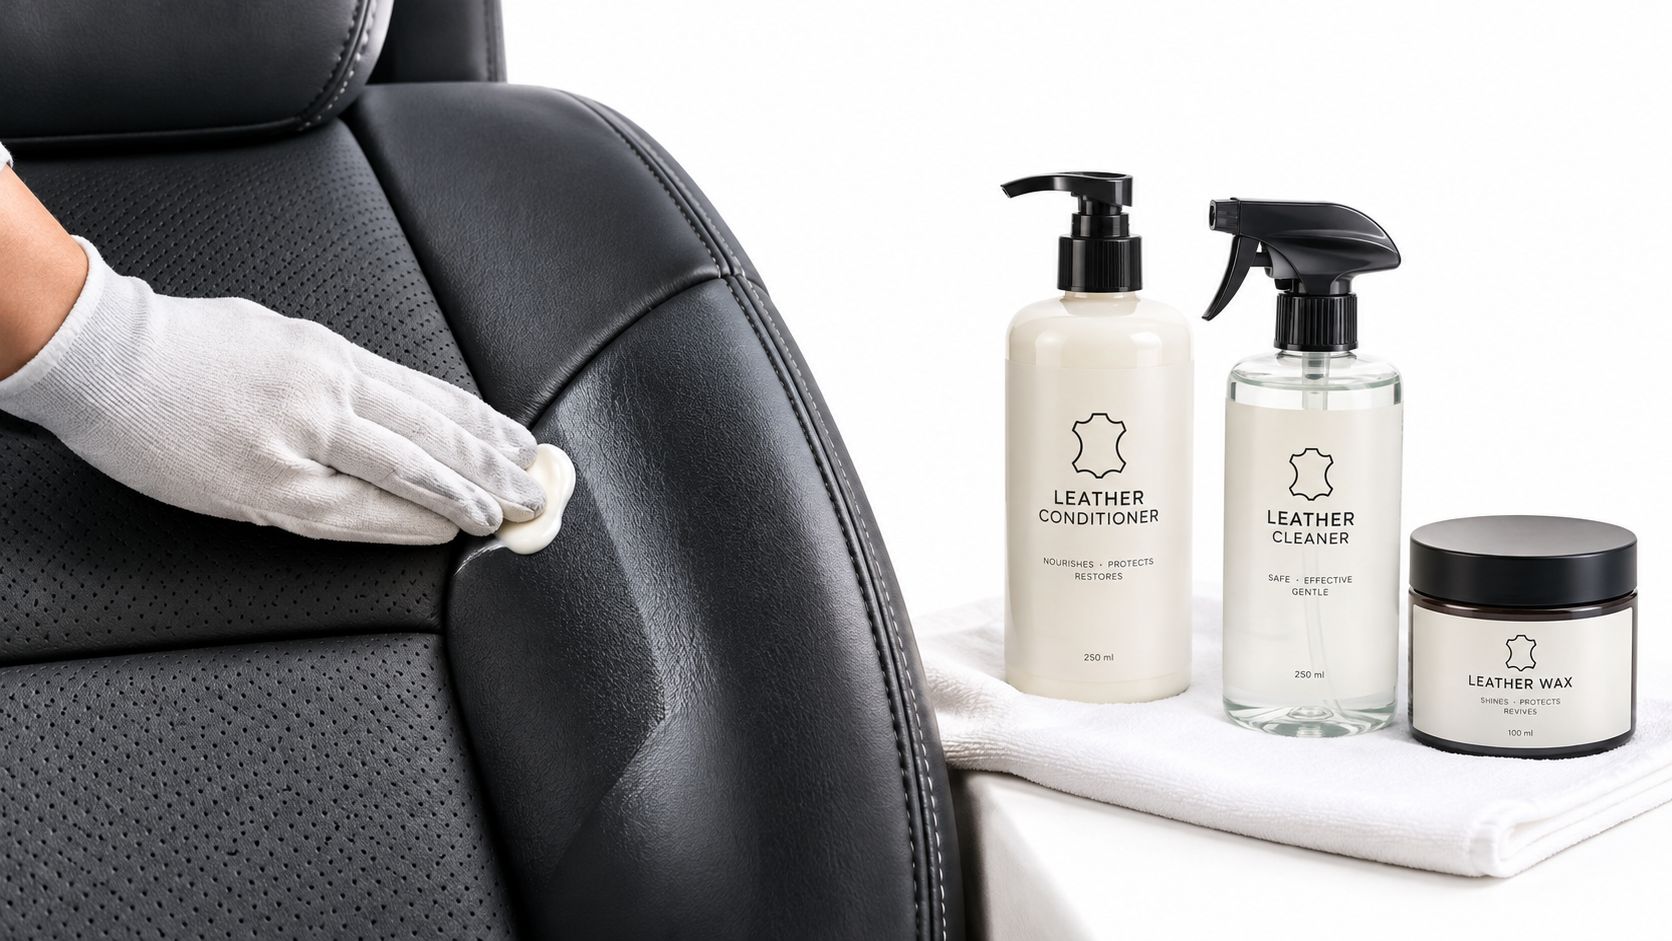
How to Tell Your Seats Actually Need Treatment
Use the schedule as a reminder to inspect, not as an order to apply conditioner. The seat’s surface tells you whether it needs attention. Look for a finish that has become unusually dull, a bolster that feels stiff, or fine creasing that catches the light. Fading or dryness on exposed areas can also be a reason to clean and assess the material.
Then check for the opposite problem. A permanent glossy sheen, slippery feel, sticky residue, or dust clinging to the surface points to excess product, not a shortage of conditioner. Adding more will make the residue worse.
Read the finish, not just the date
Dye transfer is a cleaning issue first. If marks from clothing or other contact are present, clean gently and see what remains before reaching for conditioner. Conditioning won’t remove grime or transfer.
A quick check of the driver’s bolster can settle the question. Rub the surface lightly and feel for stiffness, dryness, or an unusual tacky film. Look at the exposed tops of the headrests and the high-contact areas while you’re there. For vehicles in frequent use, leather-care guidance for daily wear supports adapting care to the seat’s actual surface condition and material.
More product isn’t more protection. If the seat looks glossy, feels slippery, or gathers dust, stop conditioning and remove the excess through appropriate cleaning.
A dry-looking surface may need attention, but don’t diagnose every crease as a need for conditioner. If the material is cracking or the finish is damaged, extra product won’t reverse it. Check the manual, identify the material, and use a suitable cleaning and care method.
Get Your Seats Professionally Assessed
When a Professional Detail Is the Smarter Move
DIY care is sensible when the seats are in decent condition and you know what material you’re working with. Get a detailer involved when the surface is difficult to read or a routine clean isn’t solving the problem.
A professional inspection makes sense when:
- The seats feel stiff or show early cracking despite regular care.
- Light-coloured upholstery has stubborn dye transfer that doesn’t lift with gentle cleaning.
- Perforated seats may have been oversaturated or feel sticky after product use.
- The car is being prepared for sale or lease return and the cabin needs a thorough reset.
- The interior has never had a deep clean and residue may be sitting on the surface.
Prime Shine offers a leather clean-and-condition add-on that can be paired with a Premium Car Wash or Full Car Detailing visit. A detailer can inspect the seat finish, identify high-wear areas, and help you set a realistic care interval for your vehicle.
That doesn’t mean every seat needs professional treatment. If the material is known, the seat is clean, and there are no signs of damage or excess residue, a careful home routine is reasonable. Hand the job over when you can’t confidently identify the surface, when the finish has changed, or when cleaning and conditioning have left the seat looking worse.
Explore Leather Cleaning Services
Your Year-Round Leather Care Rhythm
Keep the routine simple: use the calendar to prompt an inspection, then let the surface decide whether it needs conditioner. At the start of summer, mid-summer, autumn, and winter, check the driver’s bolster, exposed headrests, and any light-coloured panels. Clean high-contact areas when visible grime, sweat, or transfer appears, and condition only after cleaning and drying.
Before a longer drive, take a quick look and feel for dryness, stiffness, or residue. Choose a product suited to the material, apply it sparingly, and don’t add more when the surface is already glossy or slippery. If the seat is cracking, stubbornly marked, or coated in old product, ask a detailer to assess it instead of layering on another treatment.
For a Perth daily driver, the 2-3 month interval is a useful anchor, not a rule that overrides the seat’s condition. Keep the care focused on the areas that get the most sun and contact, and fold a professional clean into a regular detailing visit when the cabin needs a proper reset.
Book a leather clean and condition with Prime Shine Hand Car Wash in Westminster, or pair the service with a Premium Car Wash or Full Car Detailing visit. Bring in your vehicle for an inspection if you’re unsure what the seats are made of or how often they need treatment.