




You can usually tell when the cabin has crossed from “a bit messy” into “needs a proper reset”. The dash is dusty enough to leave a line on your finger, sand keeps showing up in the footwell after every drive, and the air con starts pushing that stale, closed-up smell back at you the moment it turns on. In Perth, that’s not just cosmetic clutter, it’s a cabin air problem.
Why Washing Your Car From Inside Is More Than a Quick Wipe?
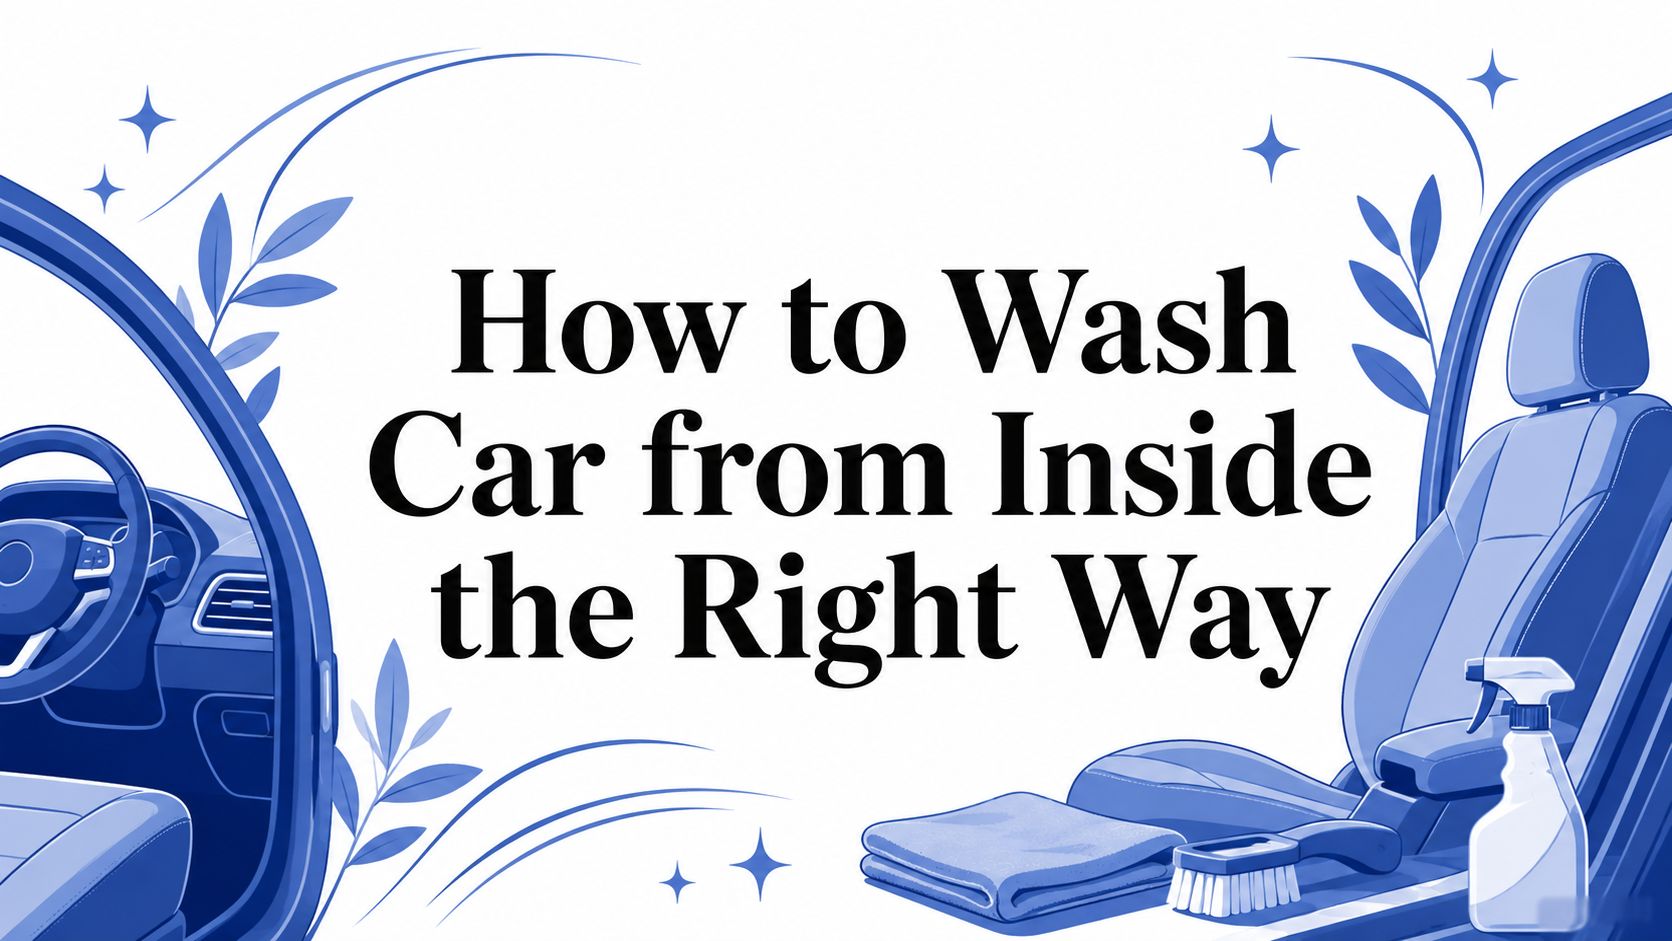
A proper how to wash car from inside job starts with a simple reality, the cabin is a layered environment, not one flat surface. Australia’s occupation classification for vehicle detailers defines interior work as washing and cleaning the outside and inside of motor vehicles, with interior tasks specifically including vacuuming, stain removal, and odour removal from seats, carpets, and upholstery, and that’s been stable in ABS classifications for years, going back at least to 2006 (ABS occupation classification). That matters because “washing from inside” isn’t a wipe over the dash, it’s a full cabin reset.
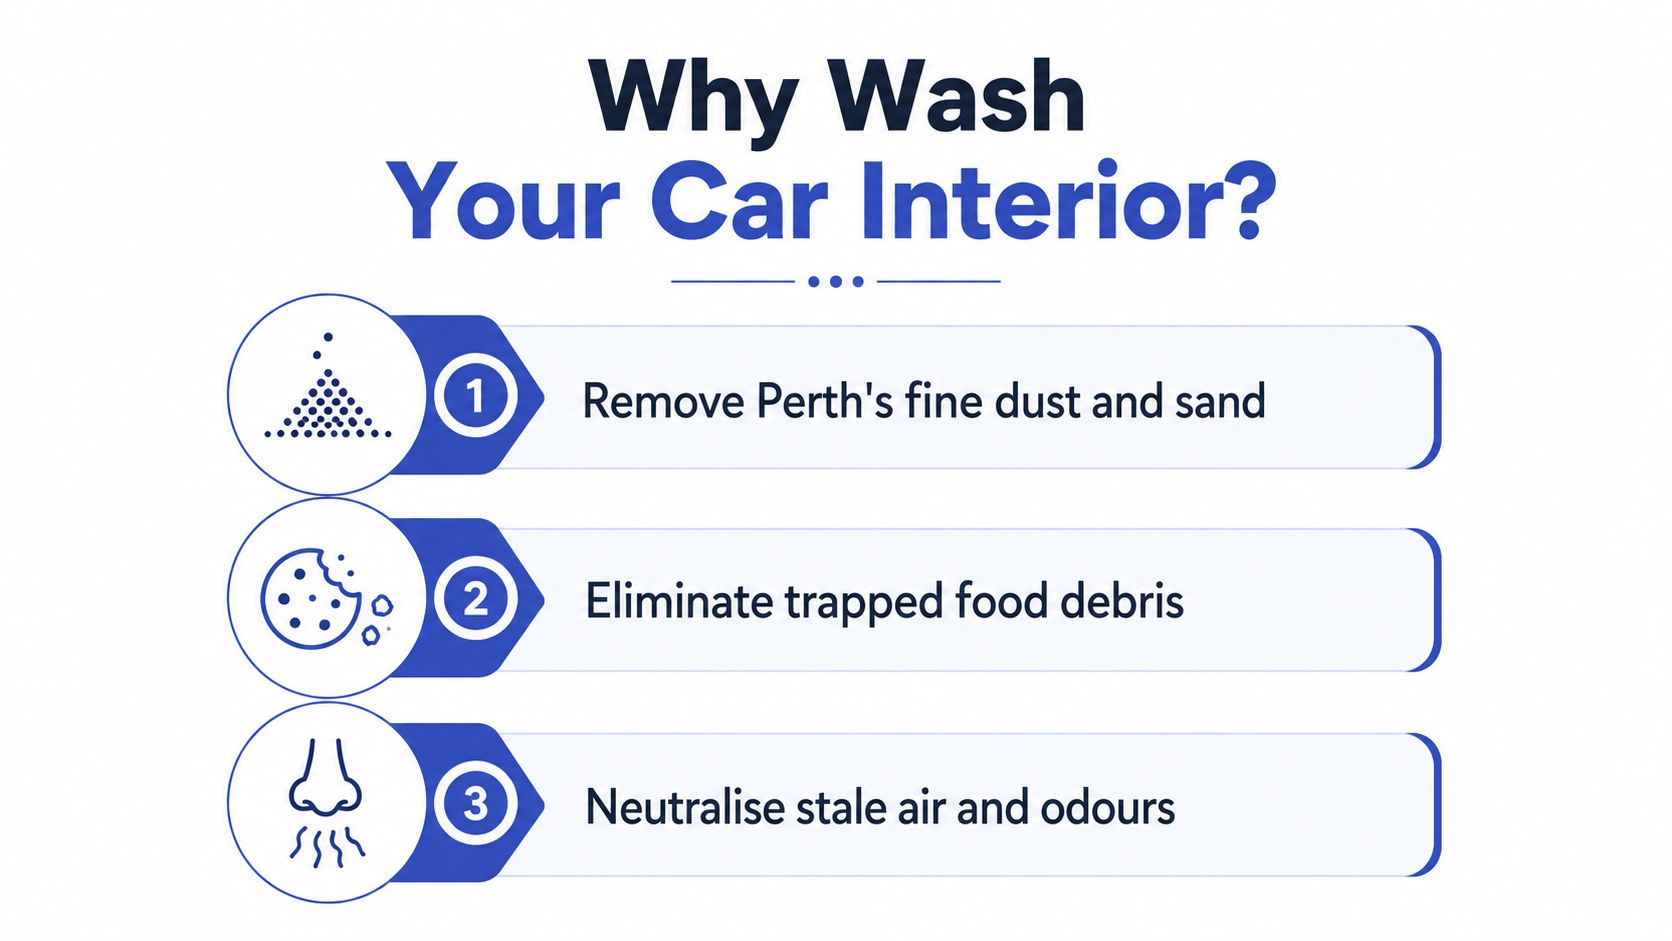
In Perth, that reset has to deal with fine dust, sand, pollen, crumbs, pet hair, and odours that settle into soft materials and airflow paths. WA fleet cleaning standards give a useful benchmark, because they treat a dashboard with only a thin layer of dust, pollen, or dirt as normal, while heavy buildup is excessive, and they also flag stains and strong odours as problems worth correcting (WA fleet cleanliness benchmark). In practice, that means a decent inside wash should lift surface dust, clean the touch points, and stop smells from lingering in the materials.
What belongs in the toolkit
A proper cabin reset needs the right tools, not a random grab from under the sink. A wet-dry vacuum with crevice and brush attachments earns its place because dust, crumbs, and pet hair don’t sit on open surfaces, they hide in seams, rails, vents, and footwells. Microfibre towels matter because different weaves do different jobs, one for wiping product off, one for glass, one for final buffing.
Soft detailing brushes are for shifting dust out of vents, switch gear, and stitching without grinding grit deeper into the material. A pet-hair rubber glove or pumice stone can help on stubborn fabric, while a carpet extractor or wet vac is what pulls moisture and contamination out of fibres instead of just spreading it around. For chemicals, keep it simple, dedicated glass cleaner, all-purpose interior cleaner, leather-safe pH-balanced cleaner and conditioner, and a foam applicator pad for controlled application.
Practical rule: if a cleaner doesn’t match the surface, it can make the job look worse even when you’ve scrubbed harder.
What not to use
The wrong product causes more damage than dirt. Ammonia-based glass sprays can be a bad call on tinted windows, degreasers are too harsh for leather, bleach is hard on vinyl, and silicone-heavy dressings leave a greasy film that attracts dust. AU guidance also recommends applying cleaner to the cloth or applicator rather than directly onto surfaces, which helps reduce overspray and streaking.
A final caution, don’t mix products in the hope of getting a stronger result. That’s where residue, streaking, and material damage start, and it’s especially risky when you’re working across leather, fabric, plastic, and glass in the same cabin.
Preparing the Cabin Before You Touch a Cloth
Start by getting the cabin out of its own way. Remove rubbish, loose belongings, child seats, bins, and floor mats so you can reach the spots where dust and grit collect, because a vacuum can’t clean what’s blocked by clutter. Dyson’s interior-cleaning advice is blunt on this point, the first step is to remove all rubbish, personal items, and floor mats before vacuuming.
Shake mats well away from the car, not beside it. If you empty them next to the open door, that Perth dust just drops back into the footwell and you’ve created extra work for yourself. Empty the boot too, because loose cargo shifts dust into the rear carpet and makes it harder to work top-down.
Remove the big stuff first, or the rest of the clean becomes a shuffle of crumbs and grit.
After that, give the dash, console, and door pockets a dry dust-down with a soft brush before any liquid goes near the cabin. That pre-pass stops dust from turning into muddy smear when you wipe later, and it lets you see what’s dirty versus what’s just loose debris. Open the doors and tailgate for airflow, then stage the interior from roof lining down to floor so the clean-to-dirty sequence stays intact.
Cleaning Fabric and Leather Seats the Right Way
Fabric and leather need different methods because they fail in different ways. Cloth seats hold grit in the seams and bolsters, so begin with a crevice tool and pull the loose dust out first, then pre-treat visible stains with an upholstery or all-purpose cleaner worked in gently with a soft brush. Keep the agitation moving from the edges inward so grime doesn’t migrate from a dirty patch into a cleaner one.
For set-in stains, dwell time matters more than brute force. Let the product sit for a few minutes, then lift it with a damp cloth or wet vac rather than hammering it with more pressure. That approach helps the cleaner break down the soil before you extract it, which is especially useful on food spills and traffic grime in daily-use cars.
Leather is a separate job. Skip anything harsh, alkaline, silicone-heavy, solvent-based, or loaded with undiluted dish soap, because those products can strip the finish and dry out the hide. Use a pH-balanced leather cleaner on a microfibre cloth, work panel by panel, and only add conditioner once the surface is dry to the touch.
Spot-test every product on a hidden seam first. One minute there is cheaper than fixing a damaged seat panel.
If you want a deeper seat-cleaning route for heavily used interiors, this guide fits naturally with steam-cleaning car seats, especially when fabric has taken on odours or spill marks. That said, steam is a tool, not a miracle, and it still needs proper drying afterwards or you just trade stains for damp.
Carpets, Mats, and Footwells Without Trapping Damp
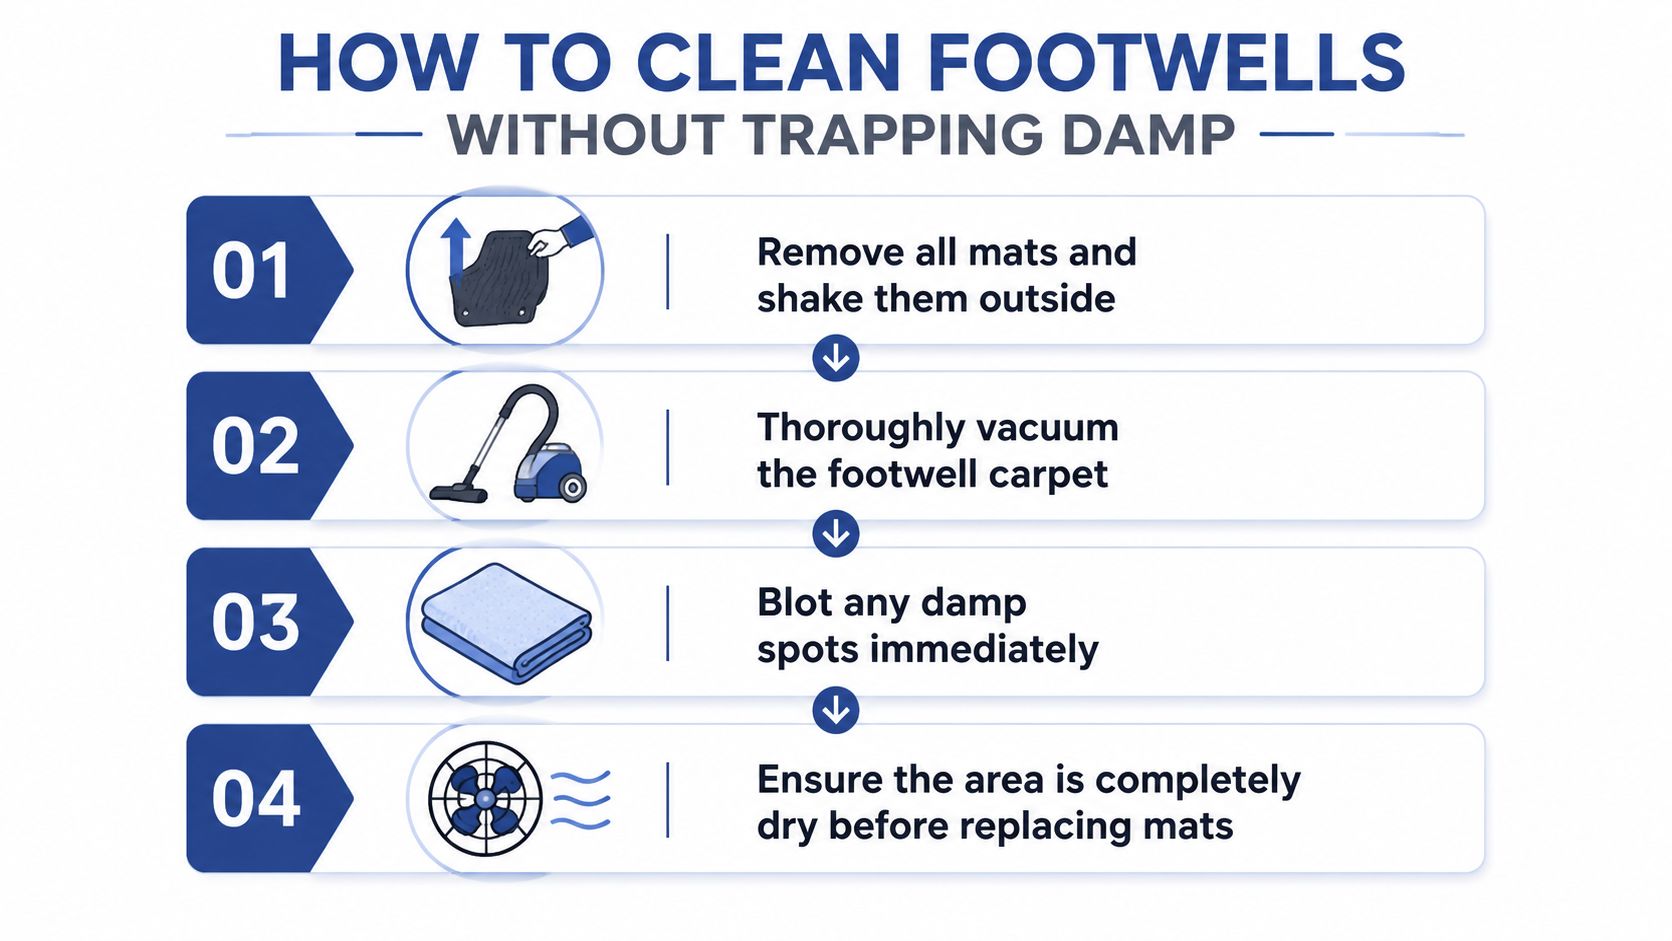
Footwells collect the worst of Perth’s dust, sand, and pet hair, and they’re also where moisture likes to hide. Pull every mat out and shake them outside the vehicle, then tap them against a wall so embedded grit falls out before you vacuum. If you skip that step, the carpet under the mat just gets re-contaminated as soon as the mat goes back in.
Vacuum the carpet in two directions, forward and crosswise, because that lifts more debris from the pile than one pass alone. A turbo brush or pet-hair attachment is worth using here, especially on textile mats and footwell carpeting where hair wraps around fibres instead of sitting on the surface. For stains, mist cleaner onto the fibre, don’t soak it, then blot or wet-vac upward so you’re pulling contamination out instead of pushing moisture deeper.
The drying stage matters as much as the cleaning stage. Leave the windows cracked slightly while the interior airs, and don’t put mats back until both the mat and the carpet feel dry in the deepest part of the footwell. A damp mat locked back into place is exactly how a cabin develops that sour smell a couple of days later.
For persistent hair, embedded lint, and mat contamination that a household vacuum can’t lift cleanly, this section pairs well with pet hair removal from car seats, carpets, and the boot.
Dashboard, Console, Vents, and Streak-Free Glass
Hard surfaces need control, not a flood of product. The no-spray-directly rule is the main one, mist the microfibre cloth, not the dash, console, or switchgear, because overspray can run into vent slats, instrument clusters, and infotainment gaps where it becomes a sticky dust magnet. AU guidance also points to using the right chemistry and applying it to the cloth rather than the surface, which keeps streaking down and avoids unnecessary wetting of electronics.
Use one cloth for the dash and console, a second for glass, and a soft brush for vents. Don’t jab a vacuum nozzle into the slats, because that can pack dust deeper into the HVAC housing instead of removing it. Twist the brush gently in each opening, let the loose dust fall out below, then wipe the louvers with a barely damp cloth.
For glass, go with an ammonia-free glass cleaner and a waffle-weave cloth. That combo helps reduce the rainbow streaking you get from paper towel and household glass products, especially on interior windows that already carry a film from daily use. Finish the inside of the windscreen last, after the dash and vents are done, so any dust that settles on the glass is dealt with in the final pass.
A separate dashboard-focused routine is laid out in this interior dash cleaning guide, which suits cars where the top surfaces are dusty but the rest of the cabin is still in decent shape.
When the Smell Keeps Coming Back?
If you’re masking odours and they’re returning after one drive, the problem isn’t the spray, it’s the source. Australian allergy guidance notes that vacuuming can stir dust mite allergen into the air for up to 20 minutes, which is why a surface tidy alone doesn’t solve all odour or air-quality complaints (Allergy and hay fever guidance). In a Perth car, recurring smells often come from damp carpets, spilled drinks trapped under seats, pet contamination, or the HVAC system itself.
Start by checking where the smell is strongest. Front vents point you towards the air conditioning system, while the rear footwell or under-seat zone usually means spills or soaked underlay. Shell Australia also recommends HEPA-filter vacuums, vent cleaning, and frequent attention to seams, mats, and crevices, which lines up with treating odour as an air-path and fibre contamination issue, not a fragrance issue.
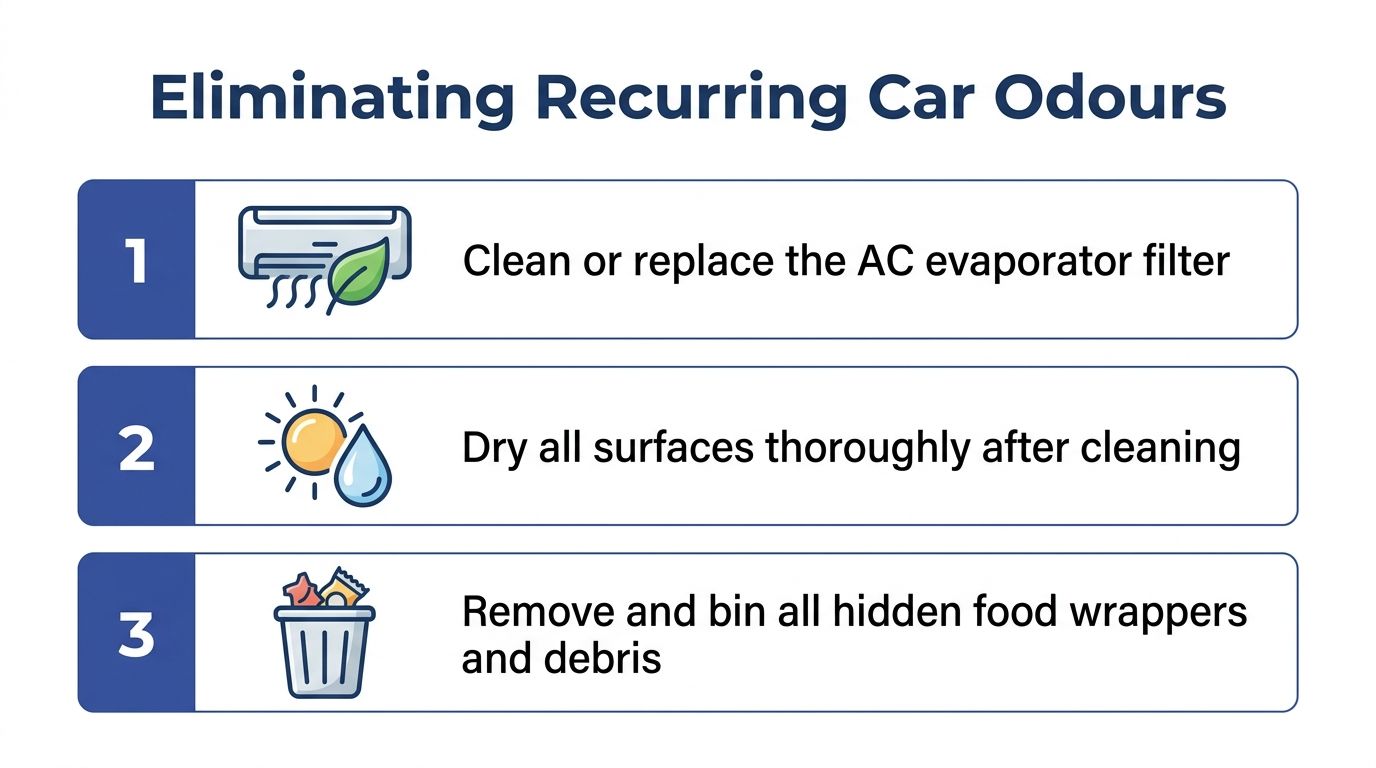
Treat organic spills with an enzyme cleaner, handle musty HVAC issues with a proper vent or evaporator clean, and extract soaked carpet underlay if moisture has sunk deeper than the top layer. A smoke-odour problem is a different kind of job again, and the right cleaning path depends on source control rather than scent cover-up, which is why smoke smell removal often takes more than a fast vacuum and a freshener.
Drying, Finishing Touches, and a Maintenance Rhythm
Drying is not an afterthought, it’s the part that keeps a clean cabin from becoming a mildew problem. Open all the doors, crack the windows, and run the AC in fresh-air mode for a short period so air moves through the cabin rather than sitting in it. Keep the car in shade while you dry sensitive surfaces, because leather and vinyl don’t need extra UV exposure while they’re already warm from cleaning.
Finish with a light leather conditioner where needed, then a matte dressing on plastic and vinyl if the surface needs glare reduction. Keep the finish restrained, because a glossy interior dressing looks wet for a day and dusty for a week. Before you call it done, vacuum the seat creases once more, since debris often shifts into those channels during the wipe-down.
Good interior care is repeatable. A short tidy each week, a deeper vacuum and glass pass each month, and a proper cabin reset twice a year keeps the job manageable.
That twice-yearly rhythm fits Perth conditions well, once after summer dust has built up, and once after winter moisture and closed-window driving have done their work. It also lines up with how often many Australian drivers already maintain their cabins, since a 2025 survey found 45% clean the inside of their car at least monthly and 15% weekly (Budget Direct survey). The habit is clearly there, the trick is making it effective instead of rushed.
DIY gets most cars a long way, but some jobs still need a shop. Persistent odours after treatment, mould in the HVAC path, set-in stains on light leather, and pet hair that a home vacuum can’t shift cleanly are all signs the cabin needs wet extraction, steam, and controlled drying. Prime Shine Hand Car Wash in Westminster handles interior vacuuming, upholstery cleaning, leather cleaning and conditioning, carpet and mat shampoo, sanitising, dashboard and trim dressing, and aircon sanitising, which makes sense for drivers who want the cabin reset done in one visit rather than stretched across a weekend.
If your cabin’s overdue for a proper reset, book a visit with Prime Shine Hand Car Wash. Their interior cleaning options are built for the same problems Perth drivers deal with every day, dust, crumbs, pet hair, and lingering odours, so you can get back into a car that feels cleaner to breathe in as well as better to look at.