







You’ve washed the car, but the headlights still look yellow and dull. On the drive home after dark, you’re wondering whether that cloudy plastic is just ageing badly or affecting what you can see. Before buying a restoration kit, work out whether the damage is on the outside of the lens or inside the lamp.
Learning how to restore cloudy headlights means more than polishing until they look clear. A worthwhile repair removes damaged surface material, protects the exposed plastic and leaves the lamp working properly. For Perth drivers, that last point matters as much as appearance.
Check your headlights in daylight and with the lights switched on before deciding what treatment they need.
Why Cloudy Headlights Are a Real Problem?
Cloudy headlights matter because the lamp must illuminate the road effectively, not glow behind a clear-looking cover. Under Western Australia’s vehicle regulations%20Regulations%202014%20-%20%5B01-t0-00%5D.html?OpenElement), low-beam headlights must illuminate the road ahead for at least 25 metres, while high beams must illuminate at least 50 metres. The regulations also require white light directed ahead without dazzling other road users or reflecting into the driver’s eyes.
Oxidation, yellowing and scratches can weaken or scatter the beam. Sun-exposed plastic can develop a degraded outer surface, while abrasion leaves marks that interfere with useful light distribution. That’s why a headlight can look bright when you face the car yet still provide disappointing illumination from behind the wheel.
Treat poor illumination as a reason to inspect the whole lamp, not just polish its cover.

What should you check first?
The useful distinction is surface deterioration versus component failure. External haze may respond to restoration; a defect behind the lens needs a different approach.
- Inspect the outside: Look for yellowing, dull patches and shallow scratches across the exposed plastic.
- Look through the lens: Check for condensation, contamination or deterioration around the reflector.
- Examine the structure: Cracks, damaged mounting points and obvious housing damage warrant assessment before abrasion.
- Compare the lamps: An uneven or oddly directed beam shouldn’t be dismissed as ordinary cloudiness.
WA’s driver and assessment guidance calls for effective lights, correctly focused headlights, reflectors with minimal corrosion and lenses that aren’t cracked or faded. Restoration can help address faded plastic, but it isn’t proof that the whole assembly meets those expectations.
Practical rule: Judge the repair by the light it delivers, not just the photograph you take afterwards.
Ask About Headlight Assessment
Gathering the Right Materials and Safety Gear
Buy the complete restoration system before starting. It is frustrating to finish sanding and discover that you have no suitable finishing polish or protective coating. The materials need to work together, especially the preparation products and the final coating.
Choose supplies intended for polycarbonate headlight lenses. Don’t assume a compound, solvent or clear finish is suitable just because it works on another part of the car. Check the manufacturer’s compatibility, application and safety instructions rather than combining products by guesswork.
Lay out your abrasives, polishing materials and protective finish before committing to the job.
What belongs in the kit?
- Cleaning supplies: Car wash, a plastic-compatible degreasing product, clean water and microfibre cloths for removing contamination.
- Graduated wet-and-dry abrasives: A suitable range for the damage, rather than a coarse sheet followed by an unrealistic jump straight to polish.
- Masking materials: Automotive masking tape to protect adjacent paint, rubber trim and vulnerable edges.
- Polishing equipment: A controlled dual-action polisher, suitable pads, plastic-safe cutting compound and a finer finishing polish.
- UV-resistant protection: A coating specifically suitable for the restored lens and compatible with the chosen preparation method.
- Personal protection: Gloves and eye protection, plus any additional protective equipment required by the product’s safety directions.
Prepare the workspace as carefully as the lens
Work somewhere you can inspect the surface clearly and keep dirt away from clean pads and abrasives. Wash the surrounding bodywork as well as the lamp, then dry the area before masking. Keep separate cloths for dirty cleaning work and final preparation.
Read the coating instructions now, not after polishing. Some systems have particular requirements for surface preparation, application conditions and curing, so don’t assume every product follows the same routine. If you can’t provide the required conditions, postpone the work or choose a professional service.
Check the coating’s preparation and curing directions before opening the sandpaper.
A restoration kit is only complete when it includes a suitable way to protect the finished plastic.
Explore Headlight Restoration Supplies
The Complete Restoration Process From Start to Finish
Start with a clean, degreased lens and protected surrounding trim. Inspect again after washing: grime can conceal defects, and there’s no value in carefully sanding a lamp that needs component repair. Keep the work controlled rather than trying to remove every mark with the coarsest abrasive available.
The sequence below suits external deterioration on a restorable polycarbonate lens. Product-specific directions still matter, particularly where a coating requires a particular surface finish.
Confirm the lens is a restoration candidate before removing any material.

Sand only as aggressively as necessary
For heavy external deterioration, a practical progression is approximately P800/P1000, P1500, P2000 and P3000; lighter oxidation may start around P1500, following the staged headlight-restoration approach. These are starting guidelines, not an instruction to use every grade on every lamp. Choose the least aggressive abrasive that removes the damaged surface effectively.
Keep the lens wet and use light, even pressure. Work across the surface rather than concentrating on a stubborn patch, and take particular care around edges. Clean away the slurry and inspect between grades so you can distinguish remaining deterioration from the sanding marks you’ve just created.
Pause between abrasive grades and inspect the surface instead of sanding by the clock.
Each grade must remove the previous grade’s scratch pattern before you advance. After sanding, an even matte appearance is expected; isolated coarse scratches aren’t. Stopping because the yellow colour has disappeared leaves work for the polish that the polish may not be able to complete.
Refine the surface without overheating it
Use a plastic-safe cutting compound with a suitable pad on a controlled dual-action polisher, then refine with a finer finishing polish. Keep speed and pressure moderate and keep the pad moving. Concentrated heat can distort polycarbonate, so pressing harder isn’t a sensible shortcut.
The general discipline behind paint correction without damaging clear coat is useful here: inspect frequently, control abrasion and stop chasing defects beyond the material’s safe limits. Headlight plastic still needs its own compatible products and technique. Don’t transfer a paint-polishing setup without checking it.
Stop and reassess if polishing leaves persistent scratches, uneven clarity or signs of distortion.
Protect the finished lens
Remove polishing residue using the coating manufacturer’s specified preparation method. Inspect for consistent clarity before applying a suitable UV-resistant finish, then follow its application and curing directions. Don’t try to hide incomplete sanding beneath protection.
- Don’t chase deep damage: Aggressive removal can compromise the lens rather than restore it.
- Don’t coat over defects: Remaining haze and coarse marks need assessment before finishing.
- Don’t skip protection: Abrasion may remove the original protective layer, leaving the restored surface vulnerable to renewed oxidation.
Ask About Headlight Restoration
Time, Effort, and Cost Compared
DIY can make sense when you already own suitable equipment and are comfortable controlling abrasion. If you’re starting from nothing, price the entire system rather than just the sanding kit. Pads, compounds, masking materials and a compatible protective finish all belong in the calculation.
There isn’t a dependable universal price or turnaround for this work. Lens condition, access, previous restoration attempts and the chosen coating affect what’s involved. Ask a professional to assess the lamps before comparing their quote with your shopping basket.
Compare complete treatment costs, including protection, rather than choosing on the headline price alone.
DIY vs Professional Headlight Restoration
| Factor | DIY Restoration | Professional Service |
|---|---|---|
| Upfront spending | Depends on equipment and supplies already owned | Depends on condition and agreed scope |
| Your time | Includes shopping, preparation, restoration and curing arrangements | Includes arranging assessment and vehicle availability |
| Technique | You control abrasive choice, pressure and inspection | The operator supplies the experience and equipment |
| Protection | You select and apply a compatible finish | Ask what finish is included and how to maintain it |
| Mistake management | You carry the risk of additional corrective work | Clarify how unsuitable lenses are identified before work |
| Warranty | Depends on applicable product terms | Ask whether any workmanship or coating warranty is offered |
Where does DIY stop being good value?
The hidden expense is rework. Skipping abrasive grades or polishing incompletely may mean buying more materials or paying someone else to correct the finish. Irreversible damage is a different matter: a replacement assembly can become necessary rather than another polishing session.
Professional work isn’t automatically faster or better because it’s paid work. A useful quote explains the preparation, finishing method, protection and limitations. As with understanding cut-and-polish costs in Perth, compare the actual scope rather than assuming similarly named services include identical work.
Ask for an itemised scope and any warranty terms before approving restoration.
Value check: DIY is economical when you can complete the repair properly, not merely when the initial kit looks inexpensive.
Read About Comparing Service Costs
When Professional Restoration Is the Better Choice?
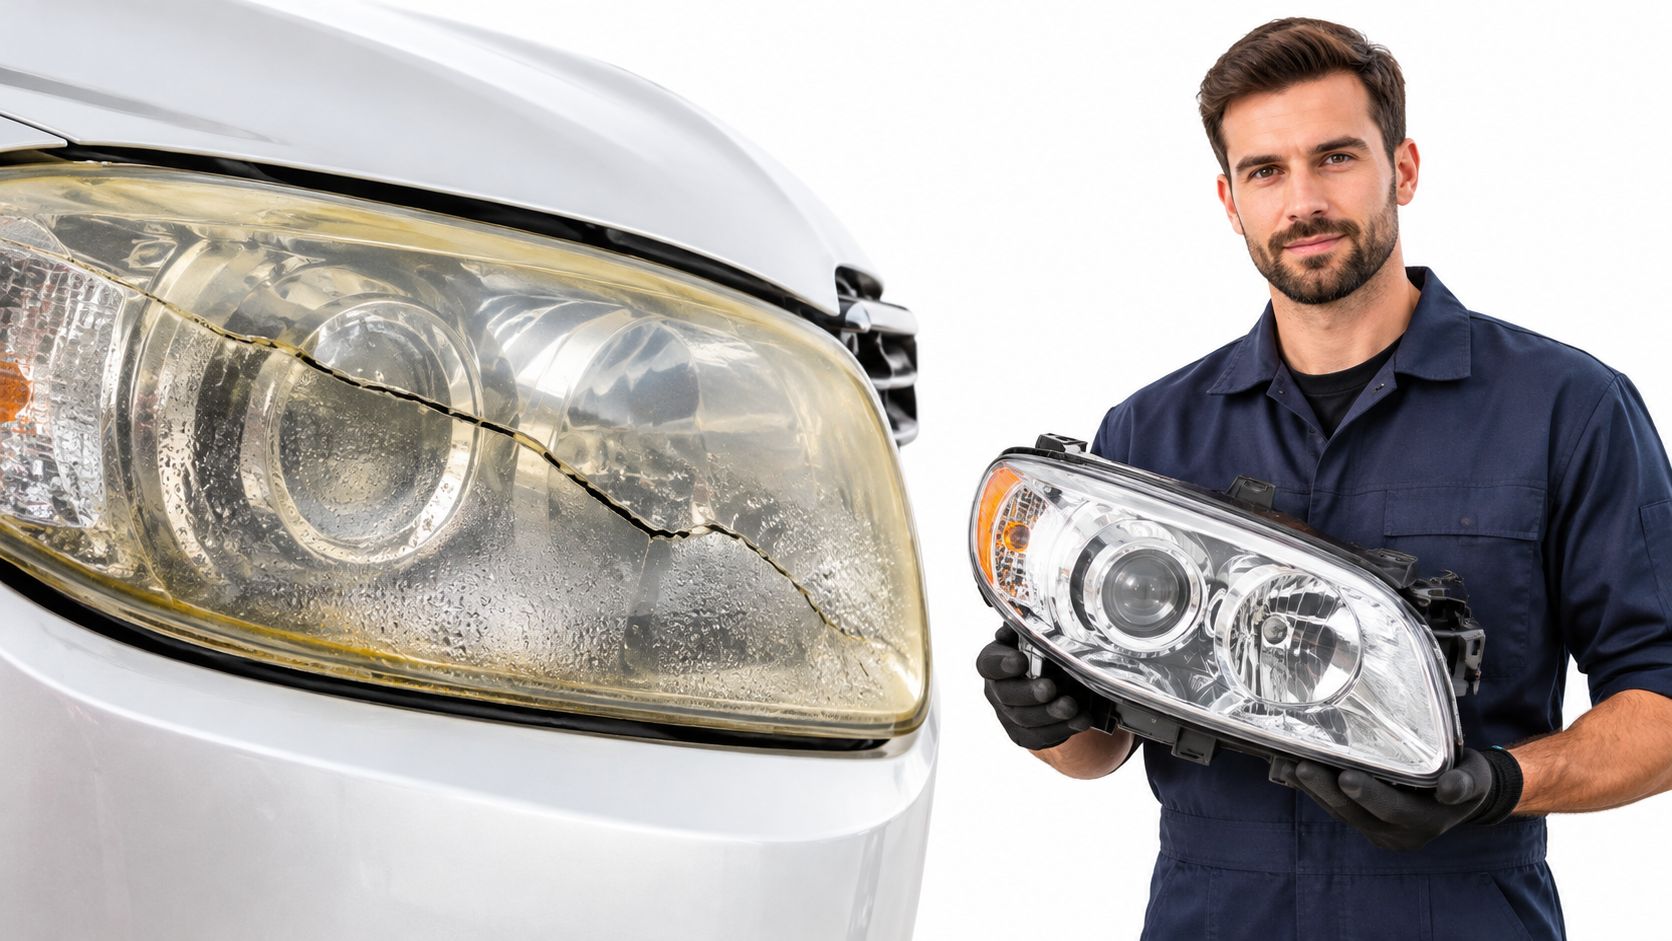
Choose professional assessment when you can’t confidently identify the fault or when lighting performance remains questionable. That’s especially sensible before substantial night driving, preparing a vehicle for sale or attending an inspection. Don’t use a cosmetic improvement as reassurance when the beam still looks wrong.
WA has vehicle inspection requirements in particular circumstances, as outlined in the national guide to Australian vehicle standards. That doesn’t mean every Perth car faces routine roadworthy testing. It does mean you should establish which requirements apply to your vehicle rather than assuming a polished lens resolves them.
Arrange an assessment before an inspection or demanding night trip if the lamp’s condition is uncertain.
Should you restore, diagnose or replace?
| Condition | Sensible next action |
|---|---|
| Mild external haze, otherwise sound lamp | Consider a suitable DIY treatment with protection |
| Established surface oxidation | Consider controlled professional restoration |
| Cracking, internal moisture or reflector deterioration | Obtain component diagnosis and a repair or replacement recommendation |
| Uneven beam or unresolved poor illumination | Arrange lighting assessment rather than further cosmetic polishing |
| Rapid clouding after previous work | Investigate preparation, coating failure and remaining lens condition |
Ask the provider what can realistically be corrected, what protective finish they use and whether beam checking is included or needs a qualified technician. A candid refusal to polish an unsuitable assembly is more useful than an unconditional promise of clarity. The same emphasis on scope and method applies when choosing a car polishing service.
After treatment, have the alignment and illumination checked, particularly if the beam appears uneven. Australian roadworthiness testing guidance on headlamp aim and glare makes the important distinction that even an adjusted lamp can be unacceptable if it causes glare. Daylight clarity alone can’t establish correct light distribution.
Ask who will verify the finished beam, and arrange a technician’s check if that isn’t part of the service.
Enquire About Professional Restoration
Keeping Headlights Clear Longer
Maintain the protective finish according to its own directions rather than following an arbitrary reapplication schedule. Keep a record of the product used and its care requirements. That makes future maintenance more deliberate and avoids applying an incompatible treatment over the existing finish.
Regular washing gives you a useful opportunity to inspect the lamps. Use lens-safe cleaning products, avoid improvised harsh chemical treatments and favour shaded parking when practical. Before night driving or a regional trip, check both the lens condition and how the lights operate.
Add a headlight check to your normal wash routine so you notice changes early.
What does returning cloudiness mean?
Gradual deterioration and rapid re-clouding deserve different responses. If the finish changes soon after restoration, investigate the preparation and protective coating rather than automatically sanding again. Repeated abrasion without understanding the failure isn’t a maintenance strategy.
- Inspect the surface: Note whether haze is uniform, patchy or concentrated around damaged areas.
- Check the location: Determine whether the apparent cloudiness is outside or behind the lens.
- Review the finish: Follow its maintenance directions and seek advice if it’s peeling or failing.
- Avoid assumptions: A coating sold for bodywork isn’t automatically suitable for headlight plastic.
The discussion of ceramic protection against Perth sun is relevant to broader vehicle care, but lens compatibility must still be confirmed separately. The aim is to preserve a sound repair, not repeatedly polish the same lamp whenever its appearance changes.
Prime Shine Hand Car Wash offers headlight restoration alongside hand washing and detailing in Westminster. Visit Prime Shine Hand Car Wash to discuss your cloudy headlights and book an assessment of whether surface restoration is suitable.